Upgrade your home's comfort. Trust Cooling Advisors for expert AC installation and replacement in West Palm Beach. Enjoy upfront pricing and great financing!

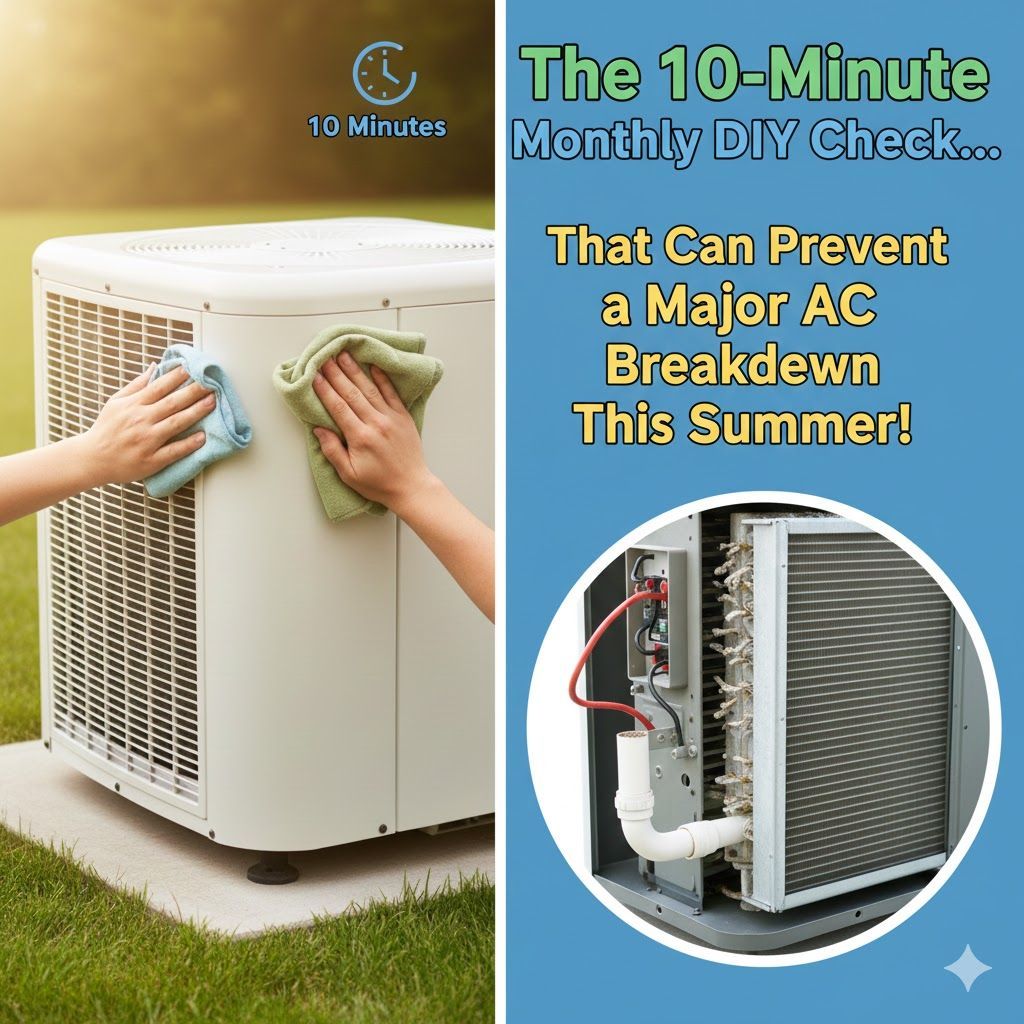
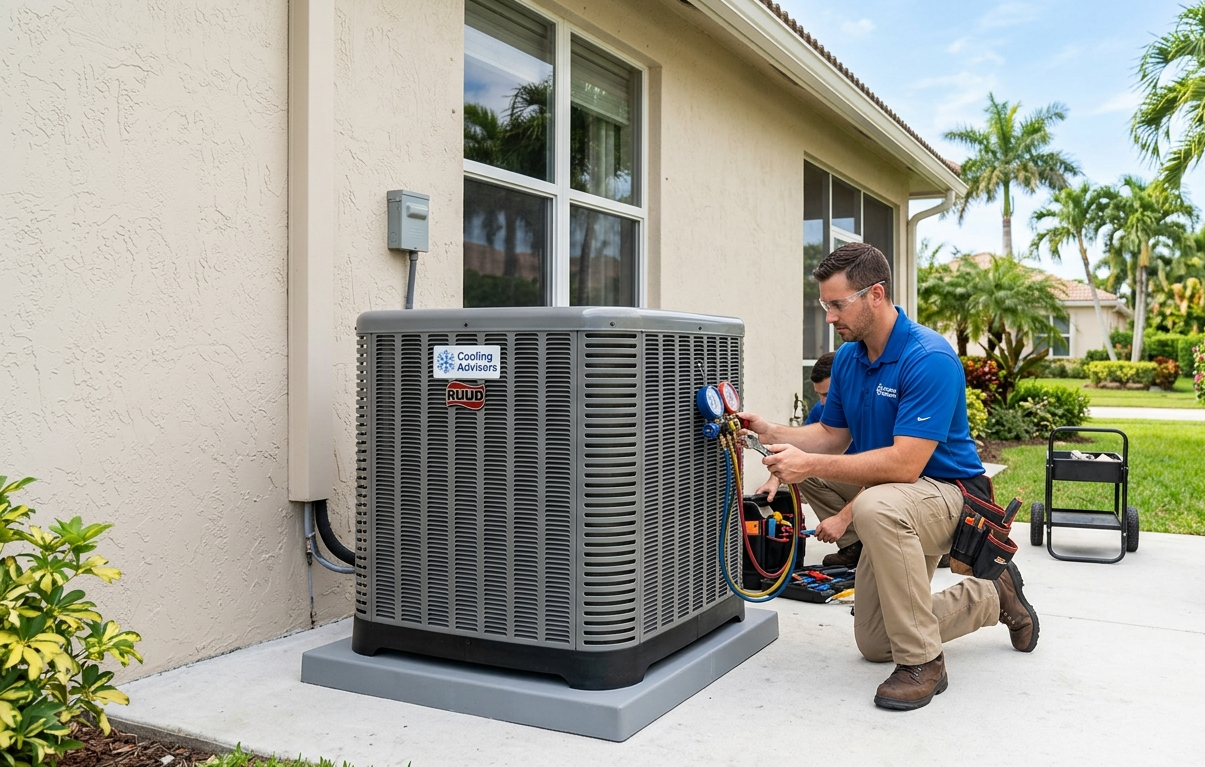
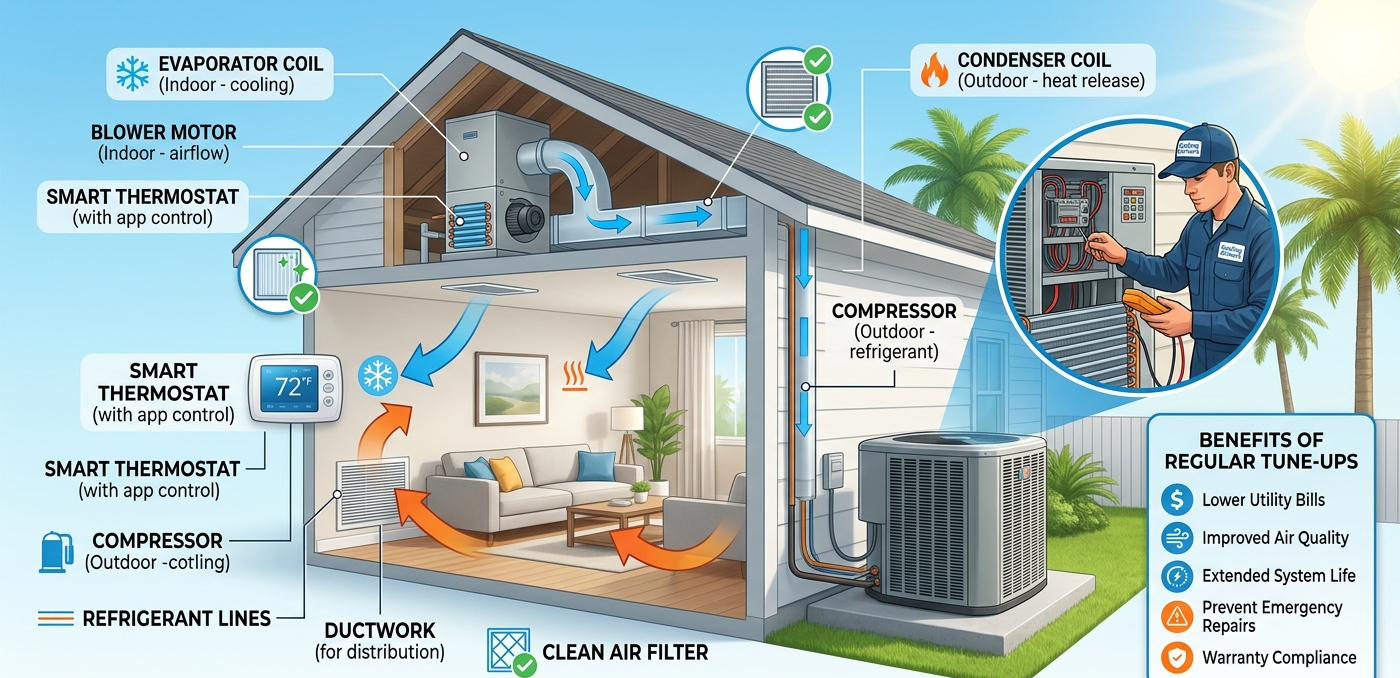
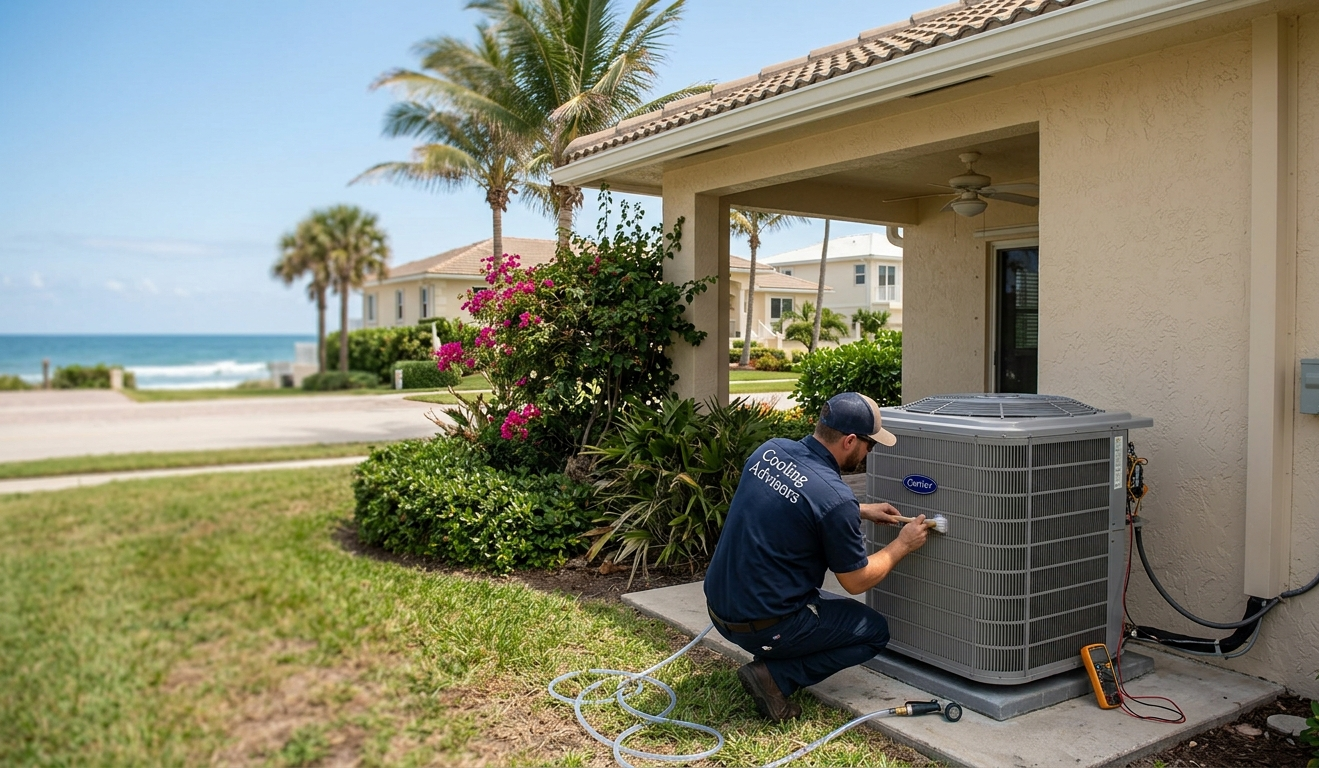
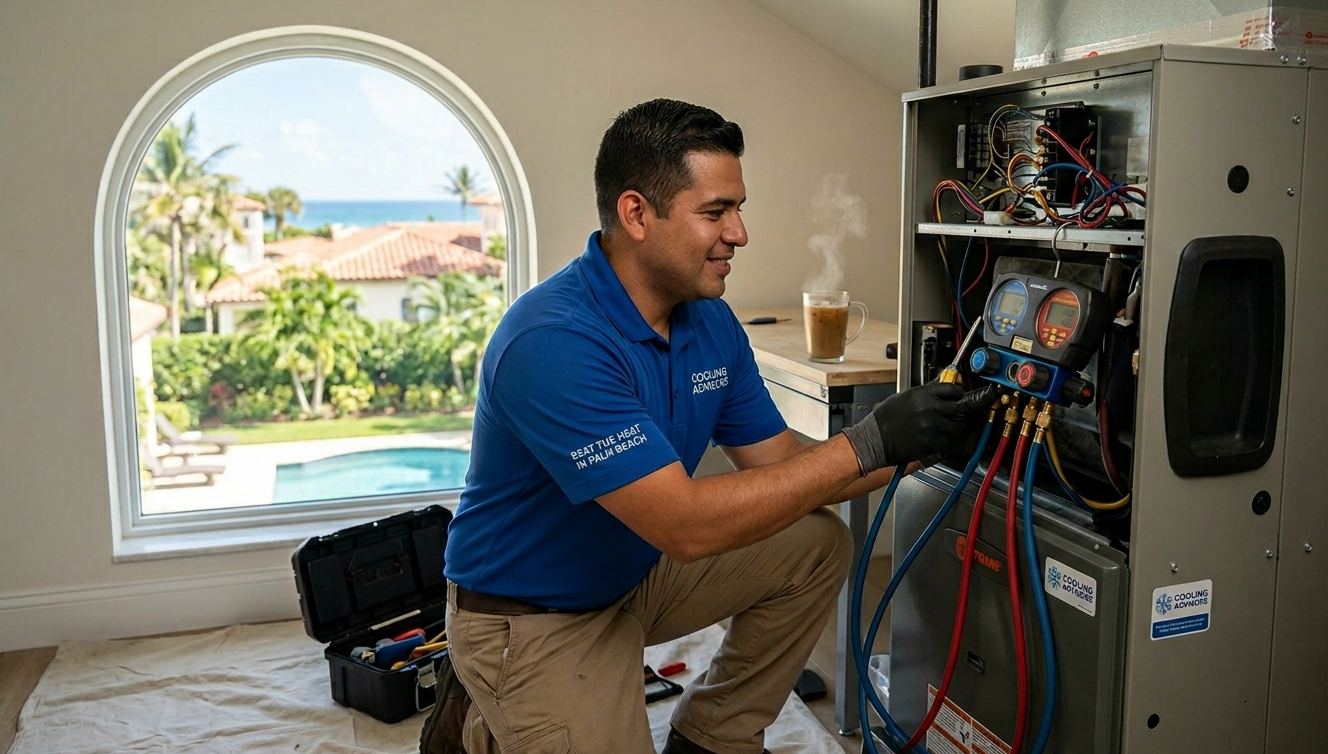
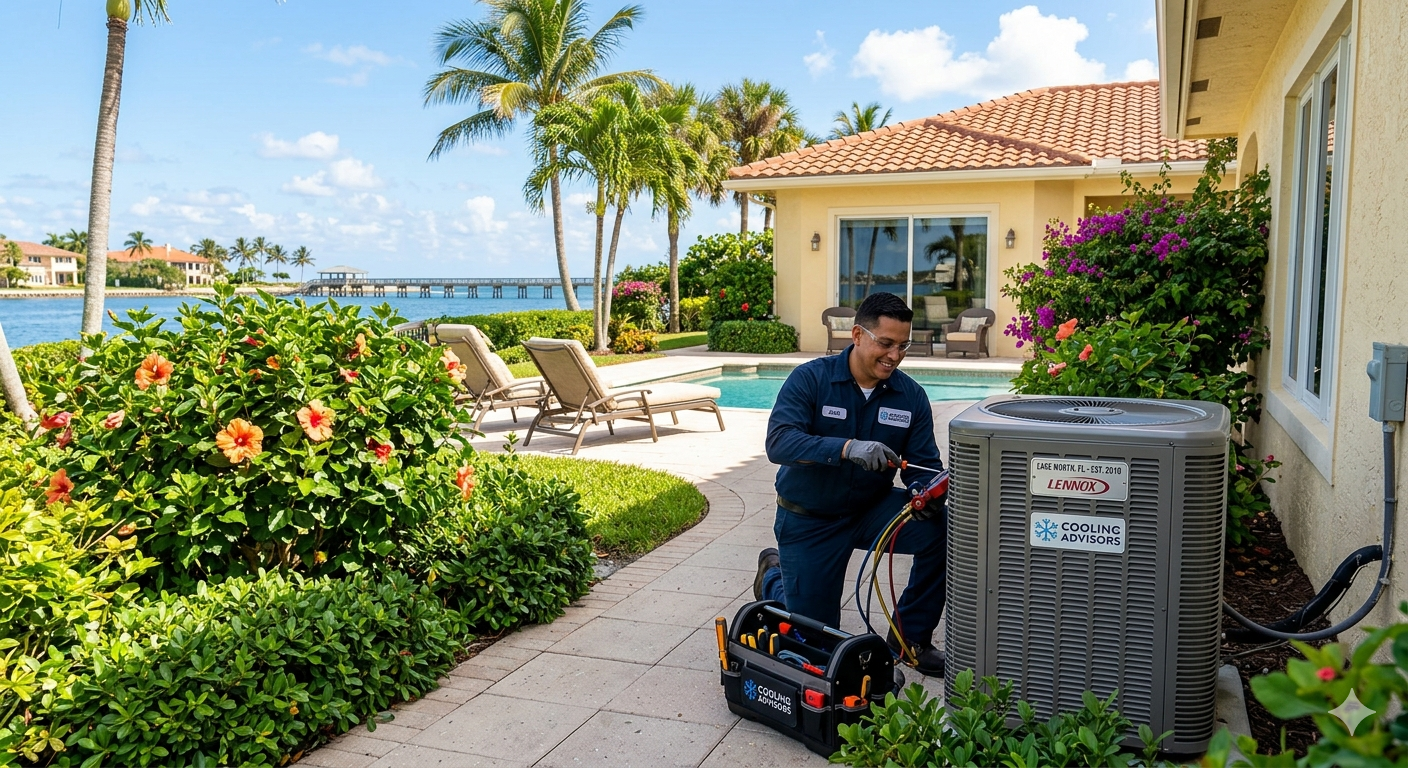
When it comes to staying comfortable in your own home, a reliable air conditioning system isn't just a luxury—it’s an absolute necessity. The scorching South Florida summer heat and intense coastal humidity can quickly turn your living space into an oven if your AC decides to malfunction. That is where professional HVAC care becomes invaluable. Proper cooling services ensure that your system runs efficiently, keeps your utility bills predictable, and extends the overall lifespan of your expensive equipment. Understanding the full scope of what keeps an air conditioning system running optimally can help you make informed decisions about your home comfort. From urgent repairs to proactive maintenance, let’s explore the essential services required to keep your indoor climate perfectly chilled. The Critical Role of Professional AC Repair Air conditioners are complex machines with dozens of moving parts, electrical components, and chemical refrigerants. Over time, friction, heavy coastal dust, and general wear and tear can take a toll. When an AC system starts underperforming, ignoring the minor signs can lead to total system failure. Common indicators that your air conditioner requires immediate professional attention include: Blowing Warm Air: If your vents are emitting lukewarm or hot air, it could point to a failed compressor, a refrigerant leak, or a broken thermostat. Strange Noises: Squealing, grinding, scraping, or loud banging sounds from your indoor or outdoor unit usually indicate loose components, belt damage, or motor failure. Frequent Cycling: An AC that turns on and off every few minutes is short-cycling. This places immense strain on the compressor and dramatically increases energy consumption. Unusual Odors: Musty smells often signify mold or mildew growth inside the ductwork or on the evaporator coils, while burning odors indicate electrical issues. Leaking Fluid: Pools of water or refrigerant around your system are clear indicators of a blocked condensate drain line or a serious chemical leak. Attempting to fix these issues yourself can void manufacturer warranties and potentially cause further damage. Certified HVAC technicians possess the diagnostic tools and specialized training to isolate the root cause of the issue safely and resolve it permanently. Proactive AC Maintenance: Prevention is Better Than a Cure Many homeowners only think about their local HVAC company when something goes wrong. However, the most cost-effective approach to home comfort is preventative maintenance. Just like a car needs regular oil changes and tune-ups, your air conditioning system requires an annual check-up to perform at its peak, especially under the demands of a sub-tropical climate. During a routine maintenance visit, a technician performs several vital tasks: Cleaning the Coils: Evaporator and condenser coils accumulate dirt, salt air debris, and dust over time, insulating them and reducing their heat-absorption capabilities. Cleaning them restores heat transfer efficiency. Checking Refrigerant Levels: Operating an AC with too little or too much refrigerant strains the compressor and lowers cooling capacity. Technicians ensure the charge meets manufacturer specifications. Inspecting Electrical Connections: Loose connections are fire hazards and can cause intermittent operational failures. Tightening and testing these components ensures safe operation. Lubricating Moving Parts: Reducing friction in motors and fans prevents premature wear, keeps the system running quietly, and lowers electricity usage. Clearing Condensate Lines: Clogged drains can cause water back-ups, leading to severe property water damage and high indoor humidity. Investing in regular maintenance not only prevents sudden, uncomfortable breakdowns during peak summer months but also preserves your manufacturer’s warranty, which often requires proof of annual professional service. Efficient AC Installation and Replacement No air conditioner lasts forever. Generally, a well-maintained cooling system has a lifespan of 10 to 15 years. As your unit approaches the end of its life cycle, it will likely require more frequent repairs, and its energy efficiency will naturally plummet. When the time comes for a replacement, selecting the right system and ensuring it is correctly sized for your home is paramount. An oversized unit will cool the house too quickly without properly removing humidity, leading to a clammy indoor environment. Conversely, an undersized unit will run continuously, driving up electricity bills while failing to reach the target temperature. Professional HVAC installers perform precise load calculations based on your home’s square footage, insulation quality, window placement, and regional climate to recommend the perfect unit. Modern air conditioners boast significantly higher SEER2 (Seasonal Energy Efficiency Ratio) ratings than models built a decade ago. Upgrading to a modern, energy-efficient system can lower your monthly utility costs by up to 20% to 40%, allowing the new installation to eventually pay for itself over time. Improving Indoor Air Quality (IAQ) Cooling your home isn't just about managing the temperature; it is also about controlling the quality of the air you and your family breathe. Because modern homes are sealed tightly to prevent energy loss, indoor air can trap pollutants, allergens, pet dander, mold spores, and volatile organic compounds (VOCs). Advanced cooling services go beyond the basic air filter. Technicians can install whole-home air purifiers, UV germicidal lights that kill bacteria inside the air handler, and advanced filtration systems like HEPA filters. Properly balanced humidity control via dehumidifiers integrated into your HVAC system also prevents dust mite proliferation and structural mold growth, safeguarding both your health and your property. Trust the Comfort Experts Your indoor comfort relies on a delicate balance of mechanical reliability, systemic efficiency, and regular professional care. Whether you are facing an unexpected mid-summer breakdown, looking to schedule a seasonal tune-up, or preparing to upgrade your entire HVAC system to an energy-saving model, having a dependable team on your side makes all the difference. For comprehensive solutions tailored to your home's unique layout, look no further than our dependable AC repair and maintenance services to keep your environment perfectly chilled all year long. Don't wait for a system breakdown to leave you sweating; prioritize your peace of mind and home comfort by scheduling a professional inspection today.
Is your AC struggling? Learn how to maximize your South Florida HVAC efficiency, cut energy bills, improve indoor air quality, and avoid costly repairs.
Heat pumps in West Palm Beach, FL offer year-round comfort and efficiency. Cooling Advisors installs and services heat pump systems for lasting home performance.
Need reliable AC repair or HVAC tune-ups? Cooling Advisors offers expert air conditioning installation and maintenance services in Palm Beach Shores, FL.

Is your air conditioner struggling with the Florida heat? Discover expert AC repair, maintenance tips, and replacement guides in Palm Beach Gardens, Florida.
Keep your home chilled with Cooling Advisors. We offer expert AC repair, maintenance, and high-efficiency HVAC installation services in Palm Beach, FL.

Need reliable AC repair in North Palm Beach, Florida? Cooling Advisors offers fast, expert HVAC services, maintenance, and installations. Schedule today!
Looking for expert AC repair in Lake Worth, FL? Cooling Advisors offers 24/7 HVAC service, installations and maintenance to keep your home cool and comfortable.
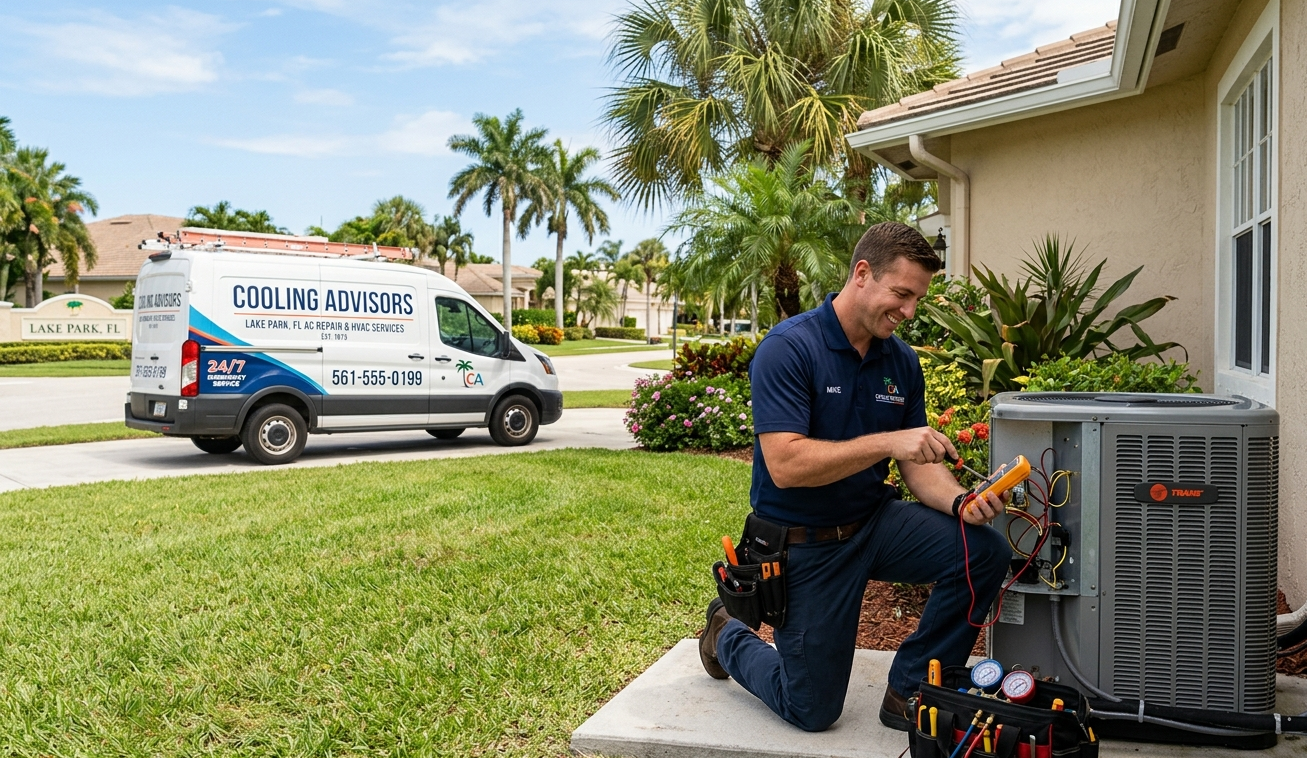
Need AC repair in Lake Park, FL? Cooling Advisors offers expert HVAC services, including 24/7 repairs, installs, and maintenance. Schedule your service today!