Upgrading or replacing your home climate control equipment is one of the most significant investments you will make in your property’s comfort and long-term efficiency. A modern heating, ventilation, and air conditioning setup does far more than just pump cool or warm air through your living space. When executed properly, a high-quality HVAC installation drastically lowers monthly energy consumption, balances indoor moisture levels, improves breathing conditions, and delivers years of predictable temperature control.
Navigating the transition to a new heating and cooling setup requires clear knowledge of what happens before, during, and after technicians complete the mechanical work. Whether you are replacing a aging central air system or installing modern equipment into a new building, this comprehensive step-by-step manual outlines everything you need to know about preparing for, managing, and maintaining a successful project.
Understanding the Value of Modern Heating and Cooling Upgrades
Old heating and air units work substantially harder than modern systems to produce the exact same cooling or heating output. Over a decade of operation, internal motors degrade, electrical connections loosen, and internal heat-exchange coils collect buildup that slows performance. Upgrading to a modern system offers immediate advantages:
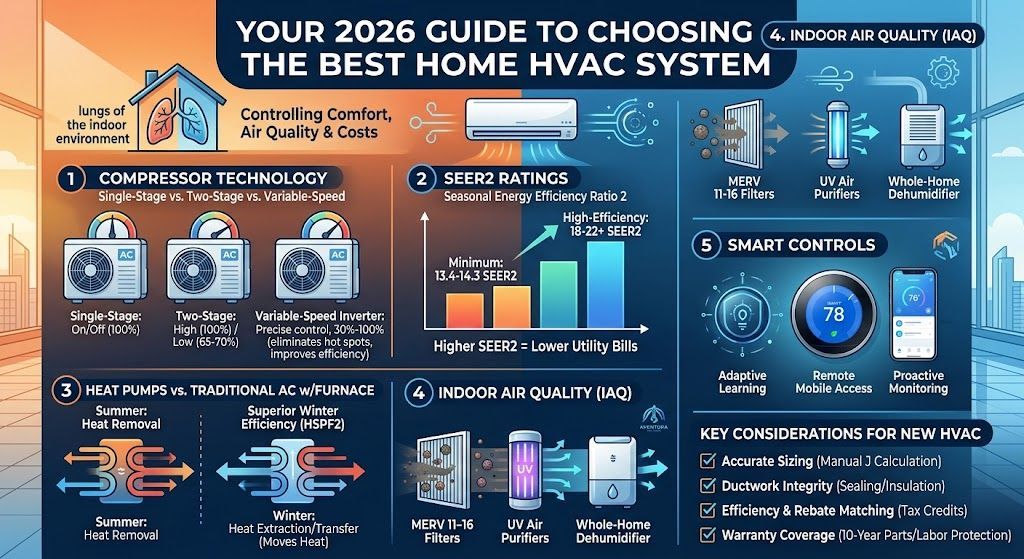
- Lower Monthly Utility bills: Modern high-SEER2 (Seasonal Energy Efficiency Ratio) systems convert electrical power into thermal transfer far more effectively than legacy models.
- Enhanced Humidity Management: Variable-speed blower motors and multi-stage compressors run at lower speeds for longer cycles, pulling significantly more ambient humidity out of indoor environments.
- Improved Indoor Air Quality: Updated blower compartments, tight air handlers, and modern filtration media stop dirt, allergens, and dust from recirculating across your living spaces.
- Reduced Repair Expenses: Replacing a failing unit eliminates frequent, emergency service calls and costly replacement parts like outdated refrigerants or burned-out motors.
Realizing these benefits depends entirely on the execution of your HVAC installation. Even the most expensive, top-tier equipment will perform poorly, waste electricity, and fail prematurely if it is improperly sized or installed incorrectly.
Step 1: Evaluating Your Current System and Sizing Requirements
The first technical stage of any project is performing a detailed load calculation. A common mistake made by homeowners is assuming their replacement system should be identical in capacity to their existing model. Over time, home renovations, insulation updates, window replacements, or changes in shading can alter a building’s heating and cooling requirements.
Professional technicians conduct a Manual J calculation, which considers several structural factors:
- Total Living Space: Measured square footage and ceiling heights across every room.
- Thermal Insulation: The resistance values (R-values) of attic, wall, and floor insulation.
- Window Profiles: Double-pane vs. single-pane glass, solar tinting, and window orientation relative to direct sunlight.
- Air Infiltration Rates: The overall tightness of doors, seals, and framing.
- Local Climate Profiles: Historical temperature extremes and average humidity in your geographic area.
Selecting an oversized unit results in rapid "short-cycling," where the system turns on and off constantly without running long enough to lower humidity. Selecting an undersized system forces the equipment to run continuously without ever reaching your thermostat’s target temperature. Proper load calculations guarantee your HVAC installation is sized for optimal efficiency and long-term durability.
Step 2: Selecting the Best System Type and Efficiency Ratings
Homeowners can choose from several HVAC equipment configurations depending on climate, existing ductwork infrastructure, and personal comfort priorities:
- Split Systems: The traditional configuration featuring an outdoor condenser unit paired with an indoor air handler or furnace.
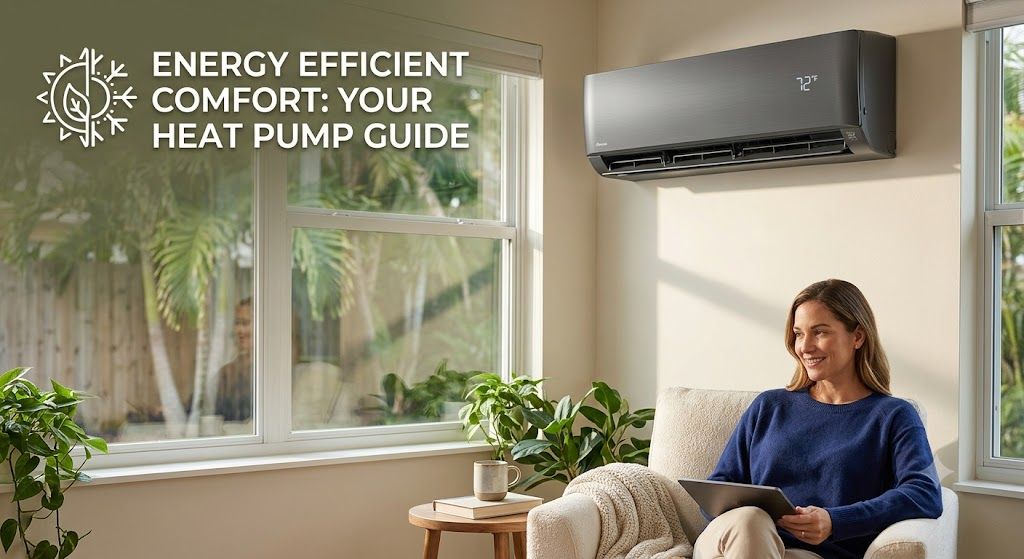
- Heat Pumps: All-in-one electric systems capable of reversing operation to handle both cooling during warm months and heating during cooler seasons with high electrical efficiency.
- Packaged Units: Single-cabinet systems containing both the mechanical cooling components and air mover in one exterior enclosure, commonly used when interior mechanical closet space is limited.
- Ductless Mini-Splits: Independent room units linked to an exterior condenser, perfect for room additions, converted garages, or homes without existing duct networks.
Pay close attention to seasonal efficiency ratings like SEER2 for cooling efficiency, HSPF2 (Heating Seasonal Performance Factor) for heat pump performance, and AFUE (Annual Fuel Utilization Efficiency) for gas or oil furnaces. Higher efficiency ratings carry higher upfront costs, but they pay back dividends over time through reduced energy costs.
Step 3: Inspecting and Upgrading Existing Duct Networks
An advanced air conditioner or heat pump cannot perform correctly if the duct system connected to it is damaged or undersized. Before fitting new machinery, technicians inspect the ductwork for major design flaws or physical damage:
- Air Leaks and Disconnections: Unsealed joints or torn flex ducting leak conditioned air into unconditioned attics or crawlspaces, wasting 20% to 30% of system capacity.
- Duct Sizing and Static Pressure: Undersized return or supply lines restrict airflow, causing excessive strain on blower fan motors and risking coil freeze-ups.
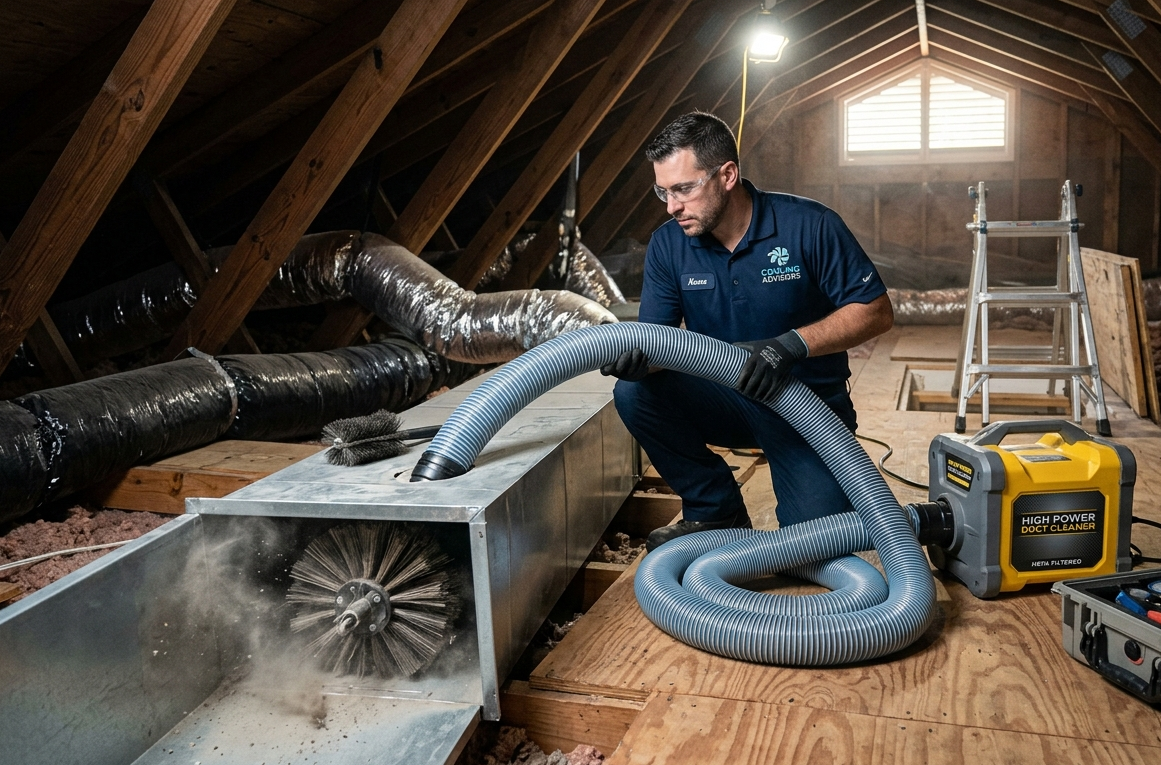
- Dust and Debris Accumulation: Years of dust accumulation inside air pathways can pollute new equipment components and compromise indoor air quality.
Technicians repair, seal, or re-size duct work prior to bringing in new mechanical equipment, ensuring unobstructed airflow across the indoor evaporator coil.
Step 4: Homeowner Preparation Before Delivery Day
Taking a few proactive measures before your installation crew arrives keeps the work area safe, accelerates the project schedule, and protects your property:
- Clear Mechanical Spaces: Remove stored items, boxes, or seasonal decorations around your indoor air handler, furnace closet, or attic access point.
- Maintain Exterior Access: Trim back bushes, tree branches, or tall grass around the outdoor concrete slab where the new condenser will sit.
- Clear Work Pathways: Move furniture or wall decorations along hallways and stairwells so technicians can move heavy equipment safely through doors.
- Secure Household Pets: Keep dogs, cats, or small animals safely confined in a separate room away from open doors and heavy foot traffic.
- Designate Parking: Leave space in driveway access areas for the installation truck and equipment trailers.
Step 5: Safe Removal and Disposal of Legacy Equipment
On installation day, certified technicians begin by decommissioning the existing system safely according to environmental guidelines:
- Refrigerant Recovery: Environmental laws require technicians to capture existing chemical refrigerants using specialized recovery pumps and pressure tanks to prevent ozone depletion or atmospheric contamination.
- Electrical Disconnection: Power lines are safely disconnected at high-voltage breaker boxes and local disconnect switches.
- Equipment Disassembly: The old condenser, evaporator coil, and furnace or air handler are disconnected from fuel lines, drain setups, and duct junctions.
- Site Cleanup: The old equipment and scrap materials are loaded into service vehicles for proper recycling and disposal.
Step 6: Setting the Mechanical Components and Pad Fabrication
Once the area is cleared, technicians construct a stable foundation for your new equipment:
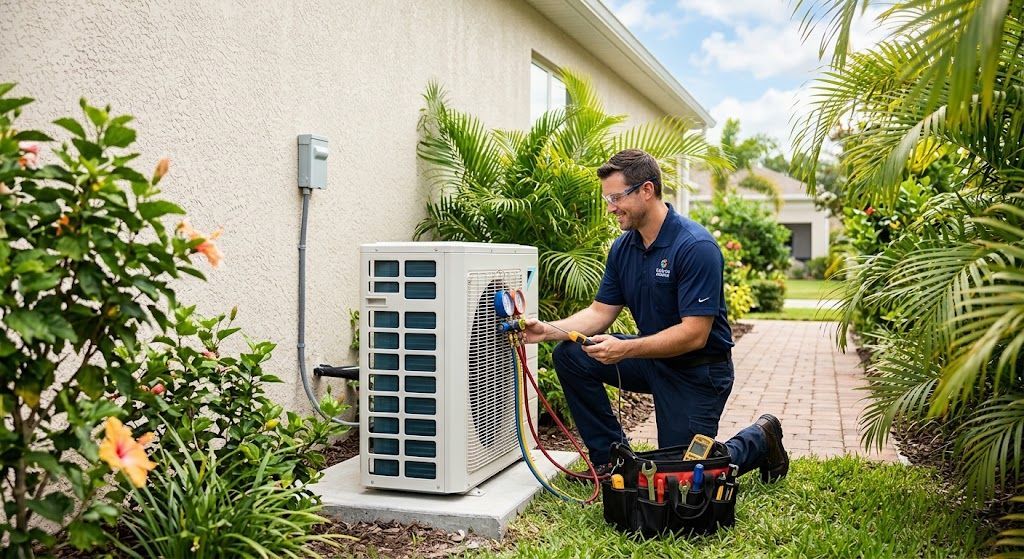
- Outdoor Pad Preparation: Technicians level the ground beneath the exterior site, laying down a durable composite or concrete equipment pad to absorb mechanical vibration and keep the outdoor unit raised above pooling rainwater, dirt, and debris.
- Vibration Dampening: Rubber or neoprene isolation pads are installed between the equipment feet and the base pad to minimize noise transmission through home walls during compressor operation.
- Indoor Cabinet Alignment: The indoor air handler or furnace is aligned vertically on a level platform or platform frame, ensuring condensation drains out naturally without overflowing condensate pans.
Step 7: Line Set Connections and Electrical Wiring
Connecting the outdoor unit to the indoor air handler requires precision trade skills:
- Refrigerant Line Sets: Copper tubing is routed between the indoor and outdoor units. Technicians braze or flare copper connections while purging nitrogen gas through the line set to eliminate internal oxidation and carbon buildup.
- Thermal Insulation: UV-resistant foam insulation is installed along the suction line to prevent line sweating, energy loss, and moisture dripping.
- High and Low Voltage Electrical Work: Technicians install new disconnect boxes, verify circuit breaker sizes match equipment specifications, and wire control board signal lines down to modern smart thermostats.
- Condensation Drainage Setup: Dedicated PVC drain lines are piped away from the indoor coil, featuring P-traps, cleanout ports, and primary/secondary drain pans equipped with overflow safety switches to protect ceilings from water damage.
Step 8: Vacuum Evacuation and System Charging
Once mechanical lines are tied together, technicians execute a process essential for system longevity:
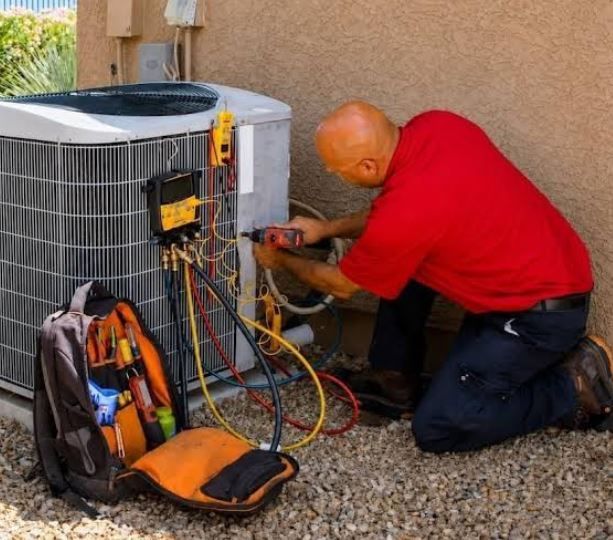
- Pressure Testing: High-pressure dry nitrogen is pumped into the closed refrigeration loop to verify that every connection point is completely leak-free under high operating pressures.
- Deep Vacuum Evacuation: A specialized vacuum pump lowers internal line pressure below 500 microns. This step boils away trapped atmospheric moisture and pulls non-condensable air out of the sealed system.
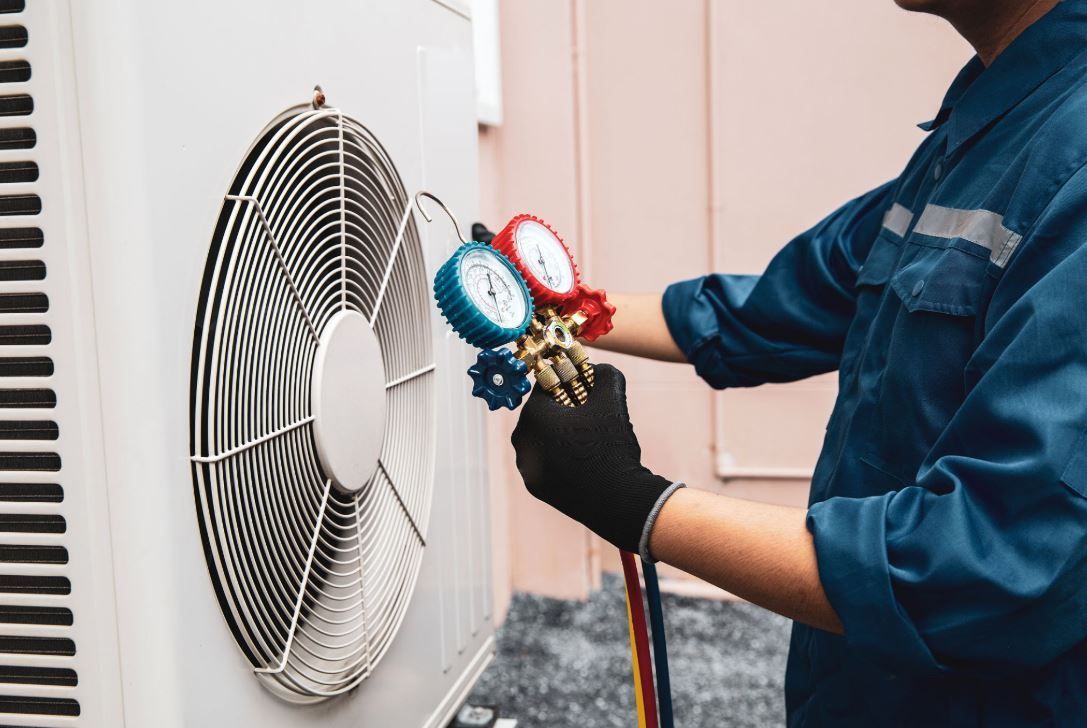
- Refrigerant Charging: The manufacturer-specified refrigerant is weighed into the system or adjusted accurately according to precise subcooling and superheat metrics.
Skipping deep vacuum steps leaves moisture inside copper lines, creating corrosive acids that destroy compressor motor windings over time. Proper vacuum evacuation during your HVAC installation guarantees reliable operation for years to come.
Step 9: System Commissioning and Testing Protocols
A successful setup finishes with comprehensive commissioning testing to verify operating specs match factory standards:
- Airflow Measurement: Checking total external static pressure (TESP) to ensure proper CFM (cubic feet per minute) delivery across vents.
- Temperature Split Verification: Measuring the delta-T (temperature difference) between supply air and return air across the evaporator coil to verify thermal performance.
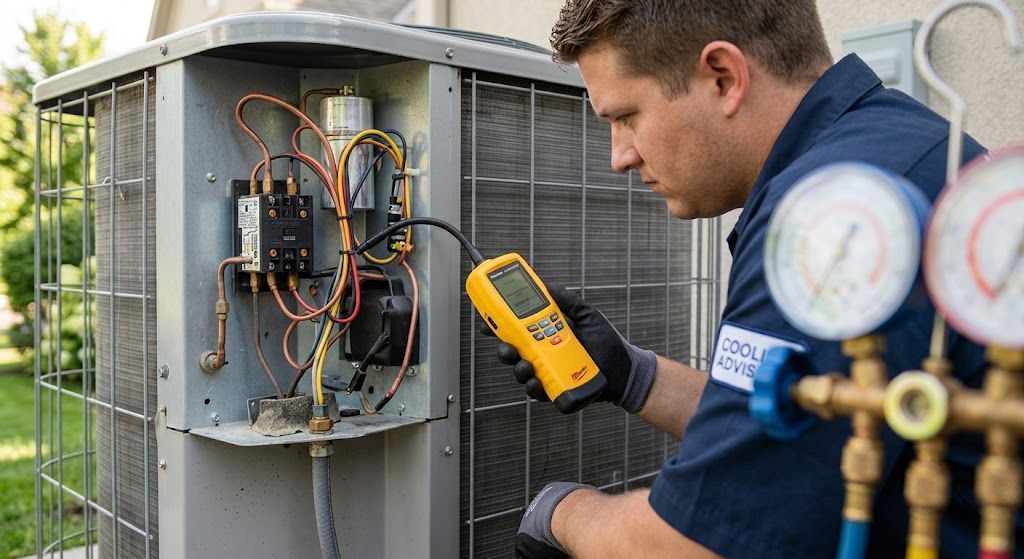
- Electrical Draw Checks: Taking amperage readings on compressor, condenser fan, and indoor blower motors to ensure wiring operates within safe manufacturer limits.
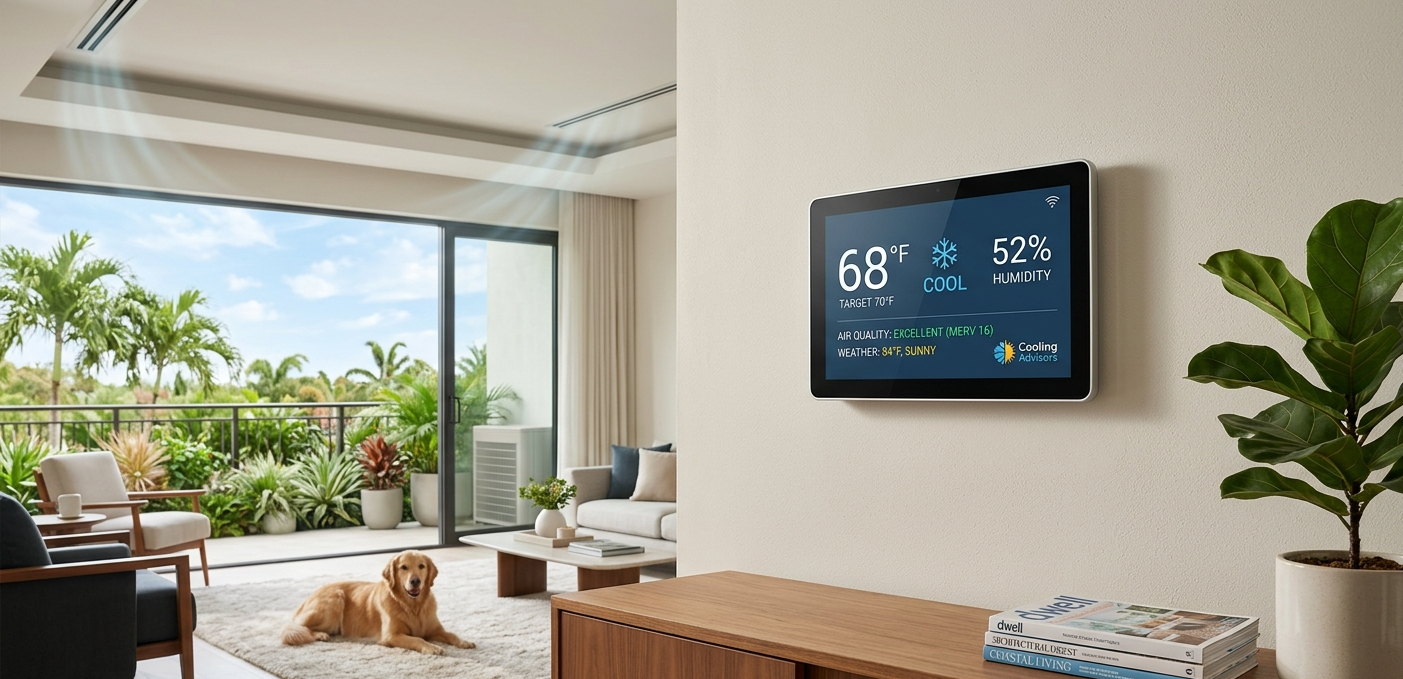
- Thermostat Calibration: Programming smart thermostats, setting fan modes, and checking multi-stage heating or cooling communication signals.
Step 10: Long-Term Maintenance for Peak Performance
A new, high-efficiency setup needs ongoing care to retain its factory efficiency ratings, lower monthly power bills, and prevent emergency breakdowns. Follow these long-term maintenance practices:
- Filter Replacement Schedules: Inspect and replace air filters every 30 to 90 days depending on pet ownership, household dust levels, and filter thickness.
- Clear Exterior Debris: Maintain a two-foot cleared perimeter around outdoor condenser cabinets to ensure unrestricted air pull across aluminum fins.
- Flush Condensate Drain Lines: Pour a cup of plain water or approved drain line cleaner down your condensate line drain port periodically to prevent algae clogs.
- Schedule Professional Tune-Ups: Arrange bi-annual maintenance visits—once in the spring for cooling checks and once in the autumn for heating checks.
Partnering with a reliable, licensed team makes a huge difference in the long-term performance of your system. If you want to lower your monthly power bills, resolve uneven home temperatures, or upgrade your home comfort, contact the local climate experts at Cooling Advisors for a professional
HVAC installation tailored specifically to your home.
Invest in proper sizing, demand meticulous installation standards, and complete regular preventative care to enjoy clean, balanced indoor air in every room of your house all year long.