Investing in a new heating, ventilation, and air conditioning system is one of the most significant decisions you will make for your home. Beyond providing basic temperature control, a properly selected and mounted system protects indoor air quality, lowers monthly power expenses, and ensures year-round living comfort. However, the performance and lifespan of your heating and cooling equipment rely heavily on the quality of the work performed on day one. A flawless
HVAC install transforms a standard climate control package into a high-efficiency power center tailored to your unique floor plan.
Navigating the equipment replacement process often feels overwhelming given the wide variety of modern technology, efficiency ratings, and mechanical requirements. By breaking down the installation into clear phases, homeowners can make smart, cost-effective decisions and supervise the project with confidence. This guide covers every critical phase of planning, executing, and maintaining your upgrade.
Step 1: Evaluating Your Home’s Real Cooling and Heating Requirements
Before purchasing equipment or scheduling a mechanical crew, you must evaluate the thermal dynamics of your living environment. A common mistake made by homeowners is replacing an old unit with one of the exact same output rating without verifying whether the original setup was sized correctly.
Over the years, upgrades such as upgraded window glass, added roof insulation, or room additions alter your home’s heating and cooling loads. An oversized system cycles on and off rapidly, leading to uneven humidity levels and premature motor wear. Conversely, an undersized unit runs continuously, struggling to maintain target temperatures during severe weather spikes.
To determine the ideal capacity, certified technicians conduct a load calculation. This diagnostic process measures total square footage, ceiling heights, window orientations, insulation values, climate zones, and internal heat generation from household appliances. Factoring in these variables ensures that your
HVAC install provides optimal thermal management without wasting electricity.
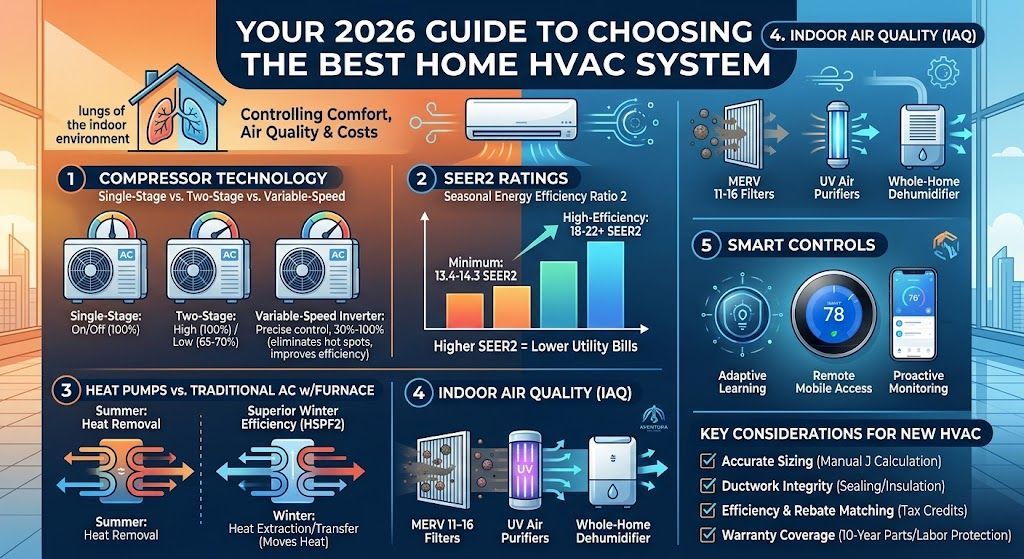
In addition to system capacity, pay close attention to seasonal energy efficiency ratios (SEER2) and annual fuel utilization efficiency (AFUE) benchmarks. Modern high-efficiency models cost more upfront, but they significantly lower monthly operating costs over their 15 to 20-year lifespans.
Step 2: Selecting the Best Equipment Configuration for Your Layout
Once your home’s load profile is established, the next phase involves choosing the ideal system design. Different property layouts require specific equipment configurations:
- Split Systems: The most standard residential setup features an outdoor condenser coil paired with an indoor air handler or furnace. This layout offers high operational efficiency and dependable performance for multi-room homes with existing duct networks.
- Packaged Units: Ideal for properties with limited indoor square footage or crawlspace limitations, packaged systems house all cooling and heating components within a single cabinet installed outdoors or on a roof.
- Ductless Mini-Splits: Perfect for home additions, historic properties, or targeted room control, mini-splits deliver direct heating and cooling without requiring expansive ductwork, maximizing energy conservation.
- Heat Pumps: Utilizing advanced refrigerant technology, heat pumps handle both heating and cooling by transferring thermal energy rather than generating heat through combustion, making them an excellent choice for moderate climates.
Selecting the appropriate system type ensures your
HVAC install aligns with your building architecture and comfort goals.
Step 3: Inspecting, Cleaning, and Upgrading Air Duct Infrastructure
A top-tier air handler and condenser cannot deliver optimal performance if attached to leaking, clogged, or undersized ductwork. Conditioned air lost through duct leaks directly increases power bills while pulling dust, insulation fibers, and attic pollutants into your living spaces.
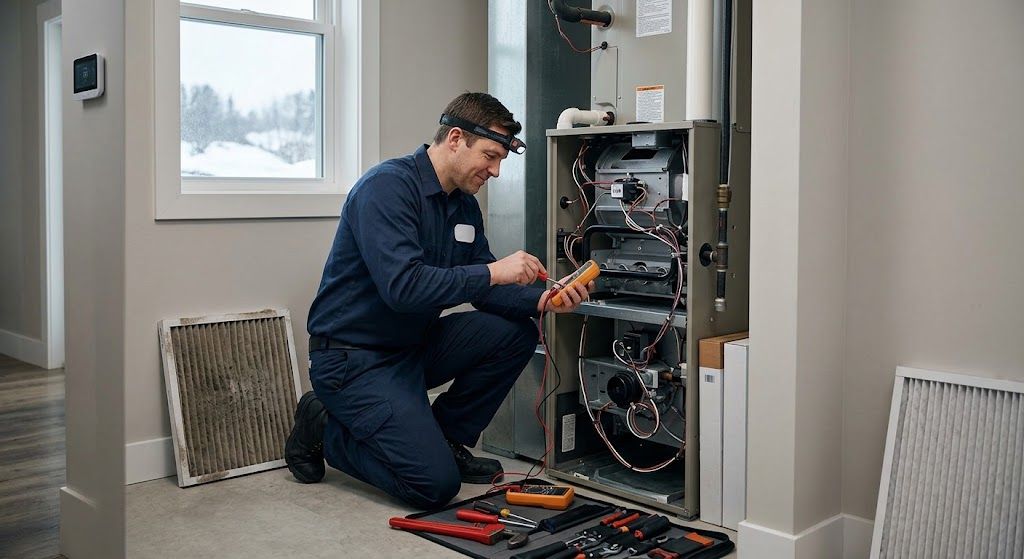
Prior to setting new equipment in place, technicians should inspect the entire air distribution network. This evaluation includes:
- Pressure Testing: Locating hidden leaks, loose joints, or disconnected branches along trunk lines.
- Airflow Velocity Checks: Verifying that return and supply vents are balanced to eliminate hot or cold spots across different rooms.
- Duct Sizing Verification: Ensuring duct trunk lines can accommodate the higher airflow volumes required by modern high-efficiency blowers.
- Cleaning and Sealing: Removing dirt accumulations and sealing joints with durable mastic sealant or specialized foil tape to preserve system efficiency.
Addressing ductwork issues beforehand guarantees that your fresh
HVAC install operates at peak capability from its very first cycle.
Step 4: Site Preparation and Old System Removal
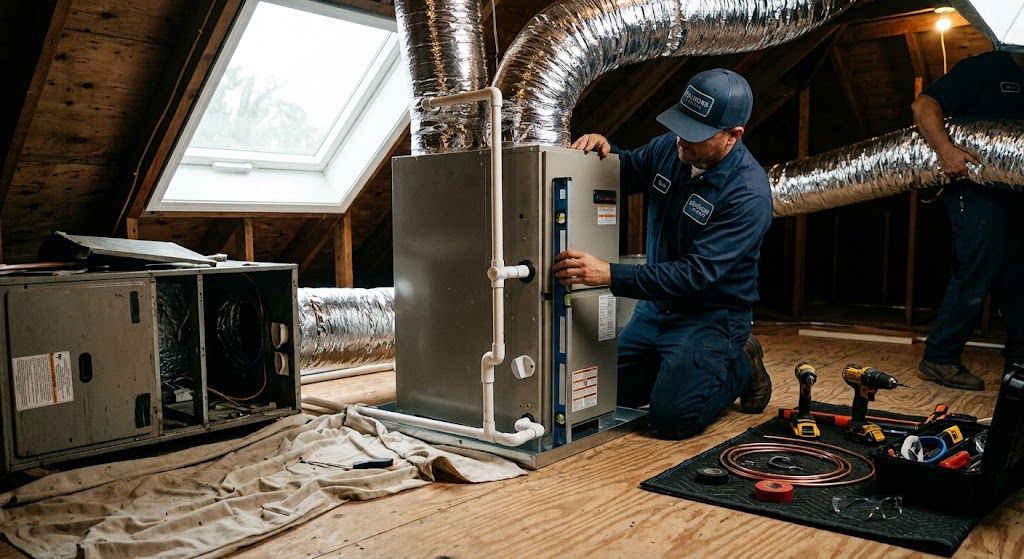
On the day of installation, site safety and home protection take top priority. Professional installers place drop cloths along interior walkways, clear working pathways, and verify that electrical disconnects are powered down before handling existing components.
Safely removing old climate control equipment involves strict environmental and mechanical protocols:
- Refrigerant Recovery: Environmental regulations mandate that EPA-certified technicians use specialized recovery equipment to capture old refrigerant gas without venting harmful chemicals into the atmosphere.
- Electrical Disconnection: High-voltage connections are safely disconnected, labeled, and inspected to ensure existing breakers match the requirements of the new equipment.
- Hardware Removal: The old condenser pad, indoor air handler, furnace flue pipes, and line sets are disassembled and cleared from the site for proper recycling.
Clearing out obsolete components establishes a clean, hazard-free foundation for your modern
HVAC install.
Step 5: Positioning, Wiring, and Piping the New Components
With the workspace prepped, structural placement of the core units begins. Indoors, technicians position the new air handler or furnace on vibration-dampening pads to minimize sound transmission through floors and walls. Outdoors, the condenser is placed on a level concrete or composite pad elevated above flood lines and clear of lawn debris.
Key tasks during this physical integration stage include:
- Line Set Connection: Seamless copper tubing is routed between the indoor and outdoor coils to circulate refrigerant. Joints are brazed using nitrogen purging techniques to prevent oxidation scale from clogging delicate valves.
- Condensate Line Setup: A dedicated drain line and secondary safety switch are installed to channel moisture away from your home foundation, preventing water damage.
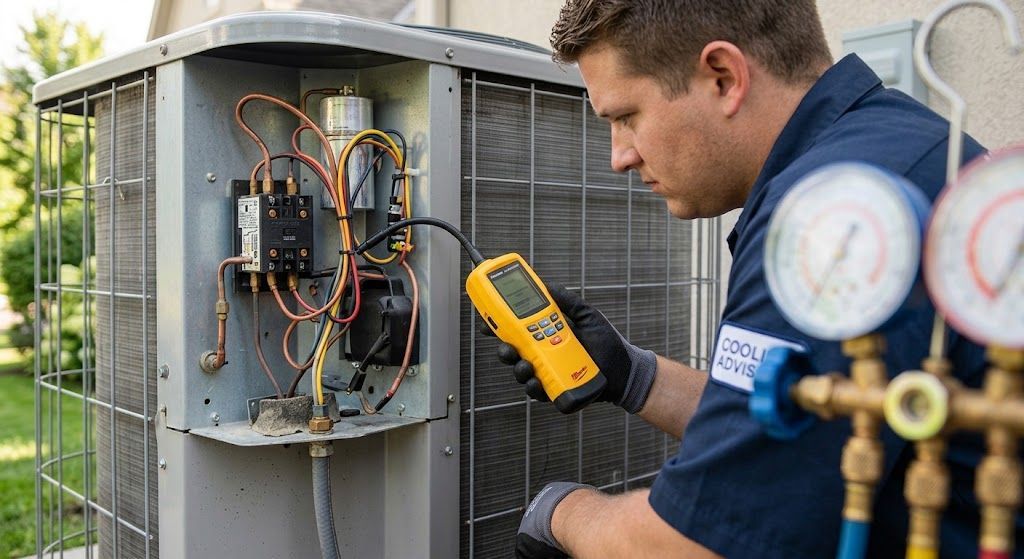
- High and Low Voltage Wiring: Electrical connections are run through weatherproof conduit to the outdoor disconnect box, while low-voltage wiring links the system control board to your wall thermostat.
- Flue Gas Venting: For gas furnace installations, corrosion-resistant vent piping is installed to vent combustion gases safely outside the home.
Precision work during this phase prevents operational faults, safety hazards, and premature system failures down the road.
Step 6: System Evacuation, Refrigerant Charging, and Testing
Connecting copper lines introduces atmospheric air and moisture into the sealed refrigerant circuit. If left unaddressed, internal moisture mixes with synthetic compressor oils to form destructive acids that degrade motor windings.
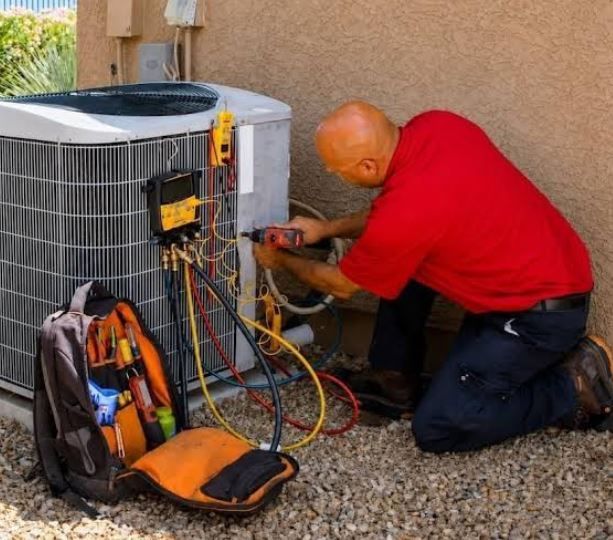
To prevent internal damage, installers connect a vacuum pump to pull the refrigeration lines down to a deep vacuum level (typically below 500 microns). This vacuum vaporizes and removes all trace air and moisture from the lines before charging the system.
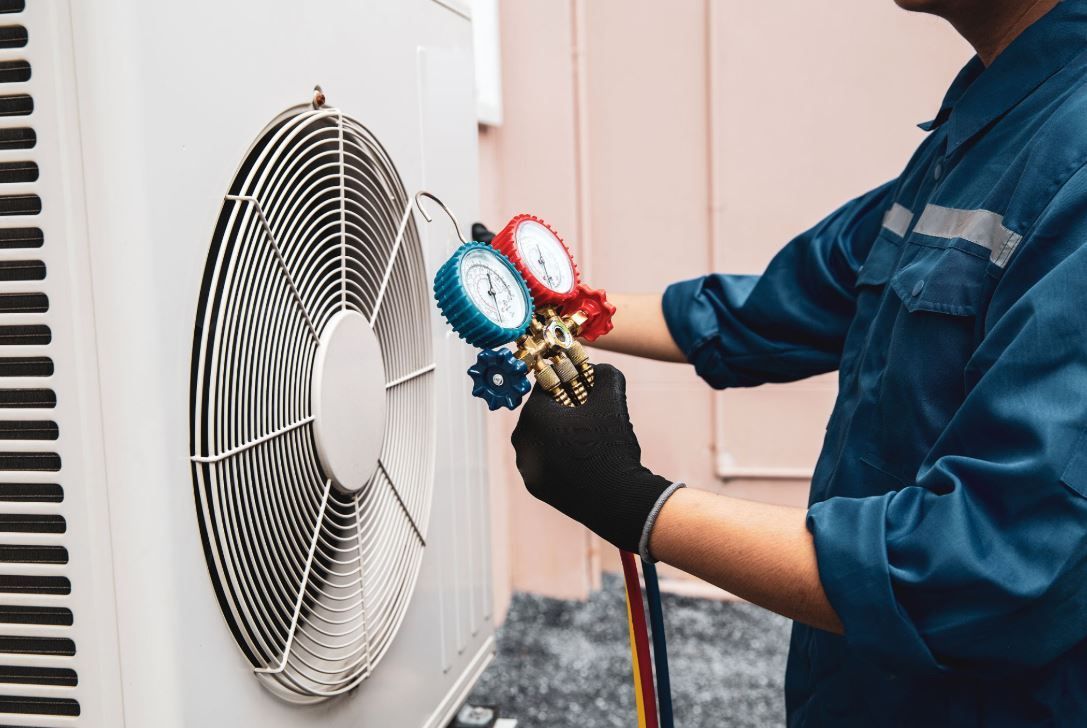
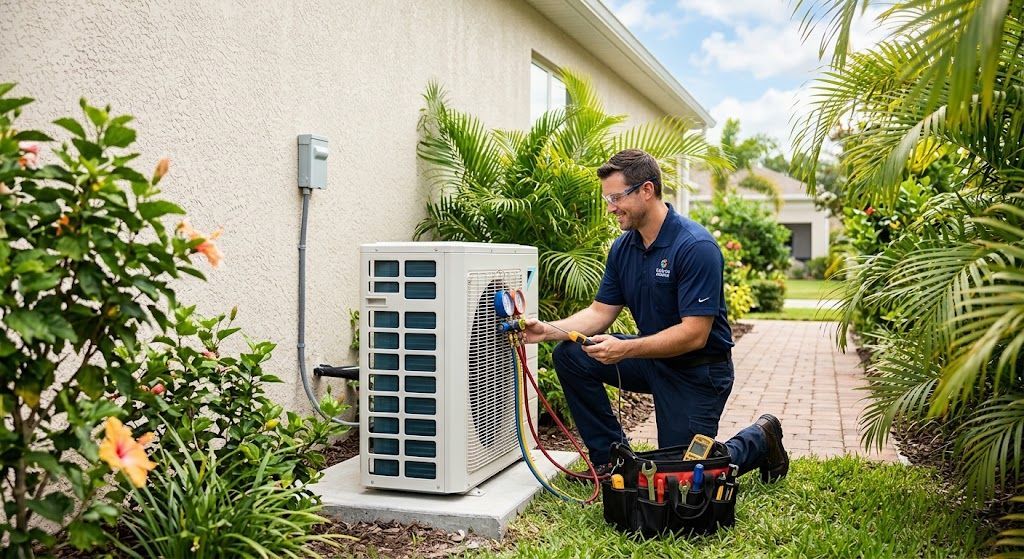
Once a stable vacuum is confirmed, the technician releases or adds the exact factory-specified refrigerant charge. Achieving correct refrigerant balance requires measuring superheat and subcooling temperatures across pressure gauges. Correct charge levels ensure optimized heat transfer, low power draw, and reliable compressor operation.
Completing a rigorous evacuation and charging process guarantees your
HVAC install delivers maximum efficiency and cooling power.
Step 7: Final Commissioning, Controls, and Calibration
The final phase of a successful project involves comprehensive testing, system balancing, and user orientation. Powering up a newly mounted system without checking baseline operating parameters risks component stress.
During commissioning, technicians verify:
- Static Pressure: Measuring total resistance to airflow within duct trunks to protect fan blower motors from overheating.
- Temperature Differential (Delta T): Verifying a proper 15 to 20-degree temperature drop between return air intake and supply registers during active cooling.
- Safety Controls: Testing high-pressure cutoffs, condensate overflow switches, and limit controls to ensure emergency shutoffs trigger as intended.
- Smart Thermostat Integration: Calibrating digital or Wi-Fi thermostats to manage multi-stage heating, cooling, and humidity controls seamlessly.
Before concluding the job, technicians explain system operation, filter change schedules, and warranty details so you can maintain peak performance year after year.
Protect Your Investment with Long-Term Maintenance
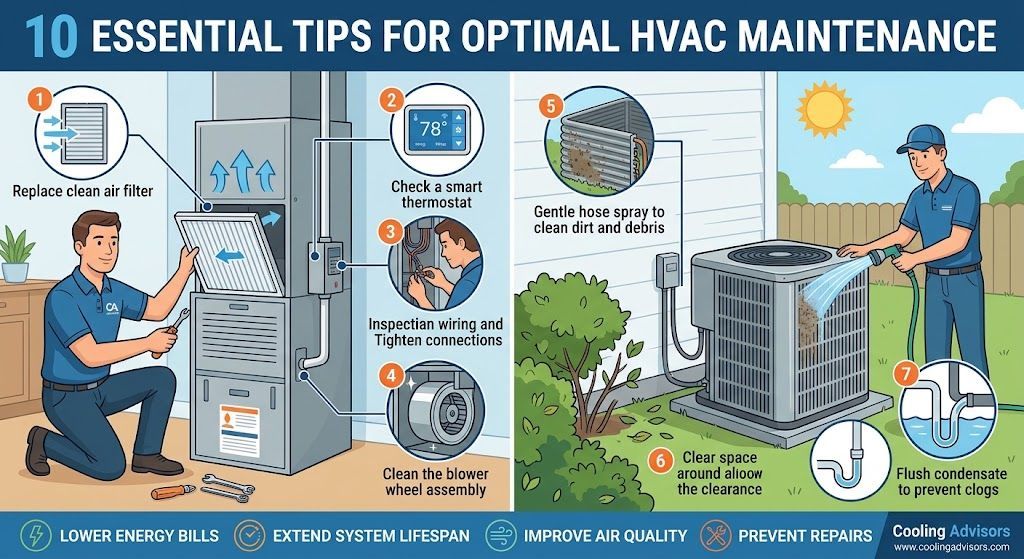
Completing a professional installation is a major home milestone, but routine preventive maintenance keeps your system running at peak performance. Changing air filters every one to three months prevents dust buildup across sensitive aluminum cooling fins. Furthermore, scheduling annual tune-ups before summer and winter peak seasons ensures electrical connections stay tight, drain lines stay clear, and refrigerant pressures remain balanced.
Partnering with experienced, licensed mechanical technicians ensures that every step of your planning, equipment selection, and ongoing service is handled with expert care. If you are preparing to upgrade your home’s climate control system and want long-lasting efficiency, schedule your professional
HVAC install today with a team dedicated to exceptional service.
Frequently Asked Questions
How long does a full system installation take?
A standard residential replacement typically takes between 4 and 8 hours to complete. Complex projects involving custom duct fabrication, fuel-type conversions, or multi-zone split systems may require up to two full work days.
What SEER2 rating should I select for my home?
The ideal SEER2 rating depends on your regional climate and how long you plan to live in your home. While the minimum federal efficiency standard is 13.4 to 14 SEER2 depending on region, selecting a 16 to 20 SEER2 unit offers substantial long-term electricity savings in warm, high-use areas.
Can I keep my existing line set and thermostat?
While existing copper line sets and control wires can sometimes be reused if flushed and inspected, upgrading to modern line sets and smart thermostats ensures full compatibility with modern refrigerants and multi-stage inverter technologies.