Keeping your heating, ventilation, and air conditioning system operating at peak performance requires more than occasional adjustments. An optimized home climate system directly translates to lower monthly energy bills, superior indoor air quality, and protection against premature, costly equipment failures. Whether you are looking to maximize efficiency during scorching summer heatwaves or ensure reliable warmth during winter cold snaps, establishing a structured regimen is essential for every homeowner.
This comprehensive guide breaks down actionable steps, maintenance schedules, and expert strategies to keep your heating and cooling equipment running flawlessly year-round.
Understanding the value of consistent system upkeep
Your heating and cooling equipment works hard every day to maintain ideal indoor temperatures. Over time, dust accumulation, mechanical wear, electrical loose connections, and fluid degradation naturally diminish its output. Neglecting regular care leads to severe consequences:
- Escalating utility costs: Dust accumulation on evaporator coils or clogged air filters forces blowers to draw significantly more electrical power to move air.
- Frequent breakdowns: Minor issues, such as a failing capacitor or a clogged condensate drain, quickly escalate into severe compressor or motor failures.
- Decreased equipment lifespan: Well-serviced systems regularly last 15 to 20 years, whereas neglected units often fail after only 7 to 10 years.
- Compromised air quality: Dirty coils, neglected ductwork, and saturated filters circulate dust, pollen, pet dander, and mold spores throughout living spaces.
10 Essential steps for maintaining your HVAC system
Following a structured approach ensures that no critical component is overlooked during routine inspections.
1. Replace or clean air filters monthly
Air filters serve as the primary barrier preventing airborne particles from entering delicate internal components. When filters clog with debris, airflow becomes severely restricted, causing the evaporator coil to freeze and forcing the blower motor to overheat.
Check your air filter once every 30 days. Replace standard 1-inch fiberglass or pleated filters every 1 to 3 months, or sooner if you have indoor pets or severe allergies. Always verify that the air directional arrow on the filter frame points toward the unit's blower motor during installation.
2. Keep outdoor condenser units clear of debris
The outdoor condenser unit expels heat removed from inside your home. If airflow around the condenser is blocked, the system cannot shed heat effectively, resulting in elevated high-side pressures and excessive power consumption.
Maintain a minimum clearance of two feet around all sides of the outdoor cabinet. Trim back overhanging branches, tall grass, shrubs, and ornamental plants. Periodically clear away leaves, grass clippings, and twigs accumulating against the cabinet louvers.
3. Clean the outdoor coil fins gently
Over time, atmospheric dirt, pollen, and mud coat the delicate aluminum fins surrounding the outdoor condenser coils. This coating insulates the coil and restricts air drawn by the fan.
Turn off electrical power at the outdoor disconnect box before cleaning. Use a garden hose equipped with a gentle spray nozzle directed at a downward angle to wash away grime. Avoid using pressure washers, as high-pressure water bends coil fins, causing permanent airflow restrictions. If fins are bent, align them carefully using a specialized fin comb.
4. Inspect and clear the condensate drain line
Air conditioning units extract substantial moisture from indoor air during cooling cycles. This moisture drips into a drain pan and flows out through a PVC condensate line. Algae, mold, and sediment frequently form inside this line, leading to clogs, standing water, pan overflows, and property damage.
Pour one cup of distilled white vinegar down the condensate T-pipe access port once a month during active cooling seasons. This simple habit prevents microbial buildup and clears minor blockages before water backs up into your home or trips safety float switches.
5. Verify thermostat calibration and settings
A miscalibrated thermostat causes system short-cycling or continuous running, both of which waste energy and accelerate component wear.
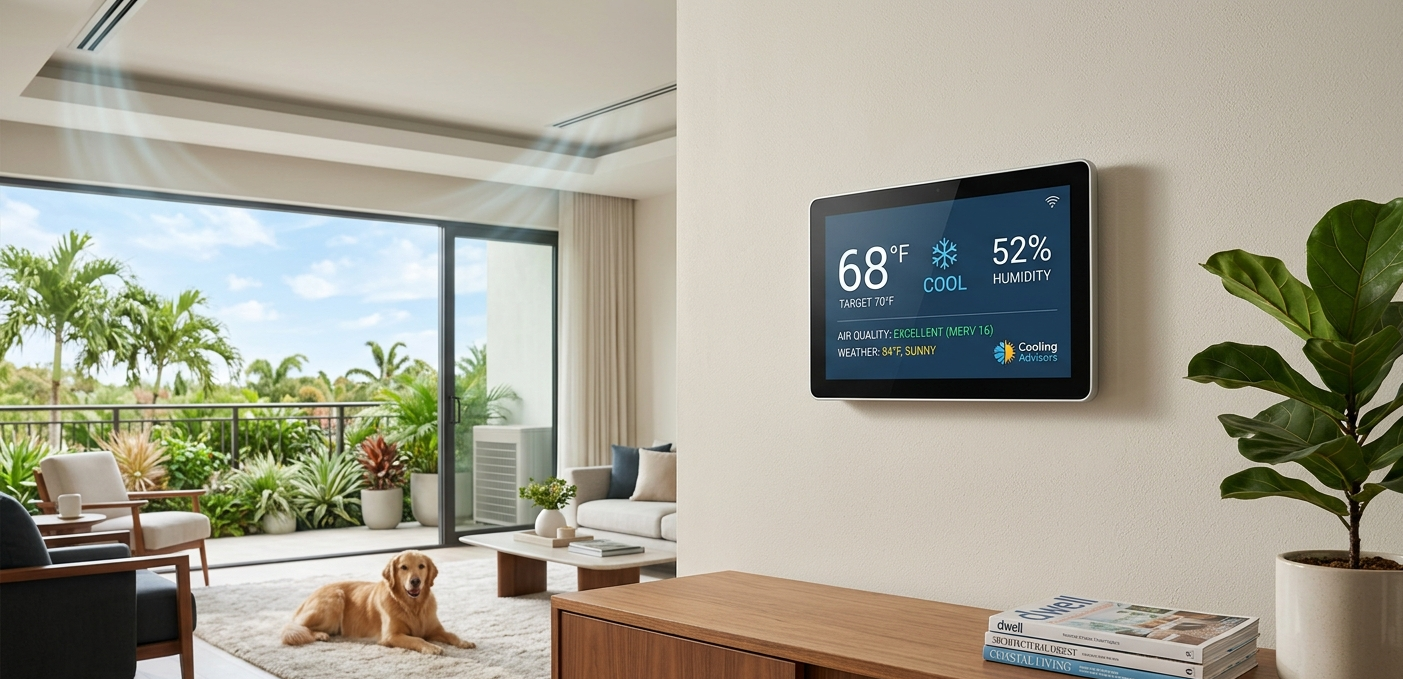
Test your thermostat's accuracy by placing a reliable digital thermometer nearby. If temperature readings differ by more than two degrees, calibrate the device according to manufacturer instructions or replace aging battery sets. Upgrading to a smart or programmable thermostat allows you to set automated schedules, reducing energy usage when your home is unoccupied.
6. Inspect electrical wiring and connections
Vibrations during operation can loosen terminal connections, while thermal expansion creates arcing or high resistance across electrical contact points.
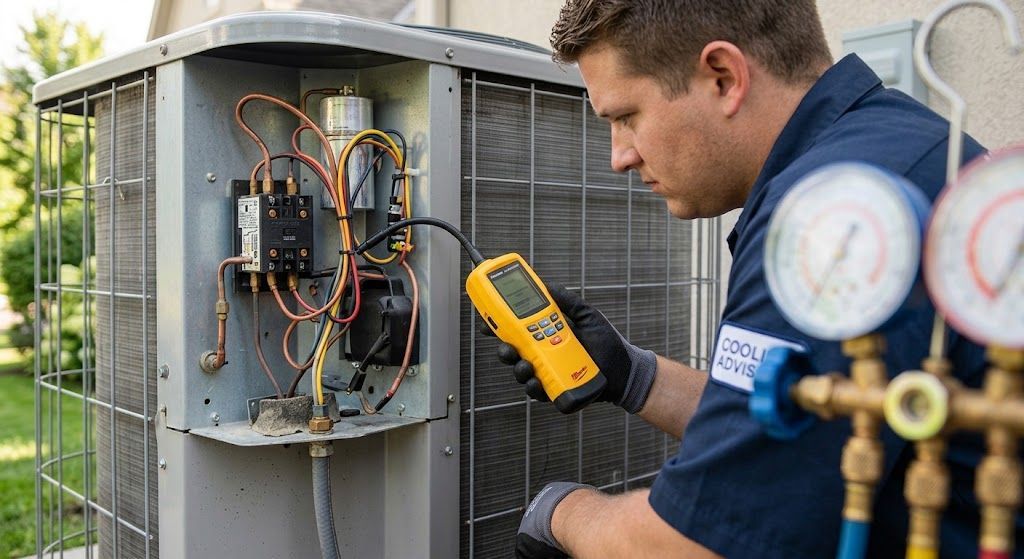
With power disconnected at the main breaker, visually inspect visible wiring for frayed insulation, scorch marks, or loose screw terminals. Ensure contactor points show no heavy pitting or carbon buildup. Because high-voltage electronics carry severe electrical hazard risks, complex wiring tests and capacitor testing are best reserved for professional technicians.
7. Balance supply and return air vents
For optimal airflow and pressure distribution, keep supply register vents and return grilles fully open throughout your house. Closing vents in unused rooms creates static backpressure in the duct system, forcing the blower motor to work harder and increasing air leakage through duct seams. Ensure furniture, rugs, and drapes do not obstruct return or supply grilles.
8. Lubricate moving mechanical parts
Friction generates heat and accelerates wear on motor bearings, fan shafts, and moving mechanical linkages. While many modern residential blower motors utilize permanently sealed bearings, older systems feature explicit oil ports that require periodic lubrication. Apply a few drops of non-detergent motor oil to designated ports annually to ensure smooth, silent operation.
9. Check blower assembly and evaporator coil
The indoor blower wheel pulls air across the cold evaporator coil. Dust passing through improper or missing filters coats the blower blades and coil fins, reducing thermal transfer and restricting CFM airflow. Inspect the blower wheel for dust accumulation and gently brush clean if debris is visible.
10. Schedule bi-annual professional checkups
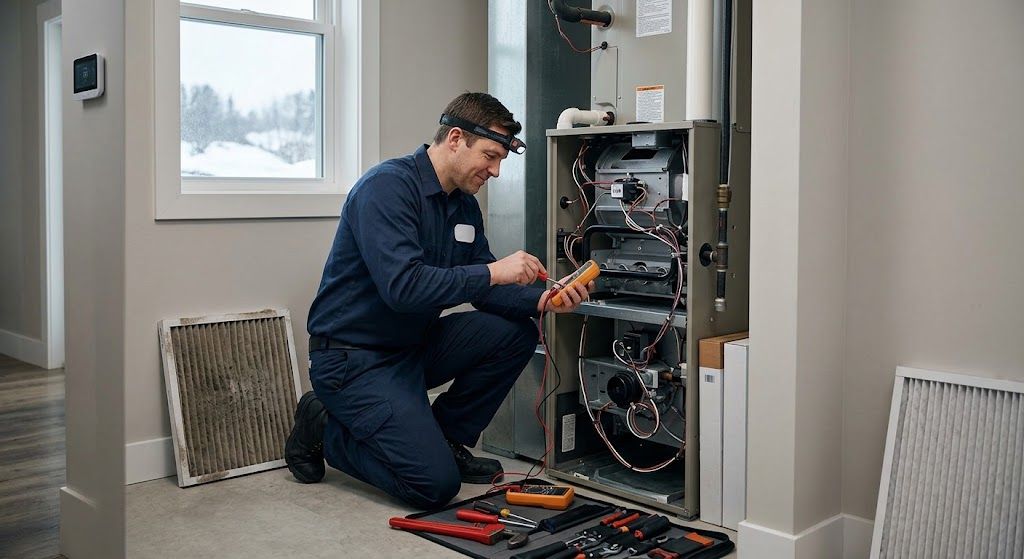
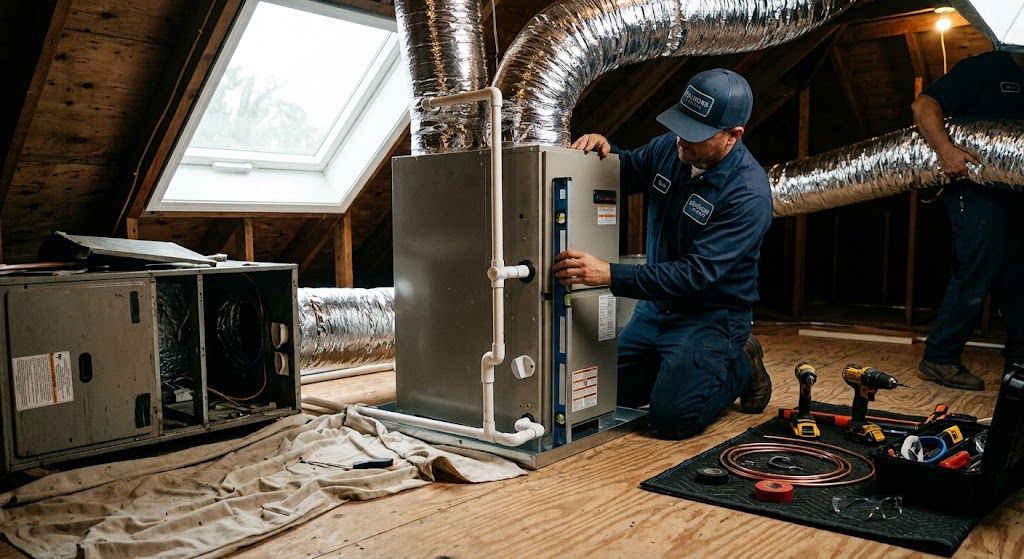
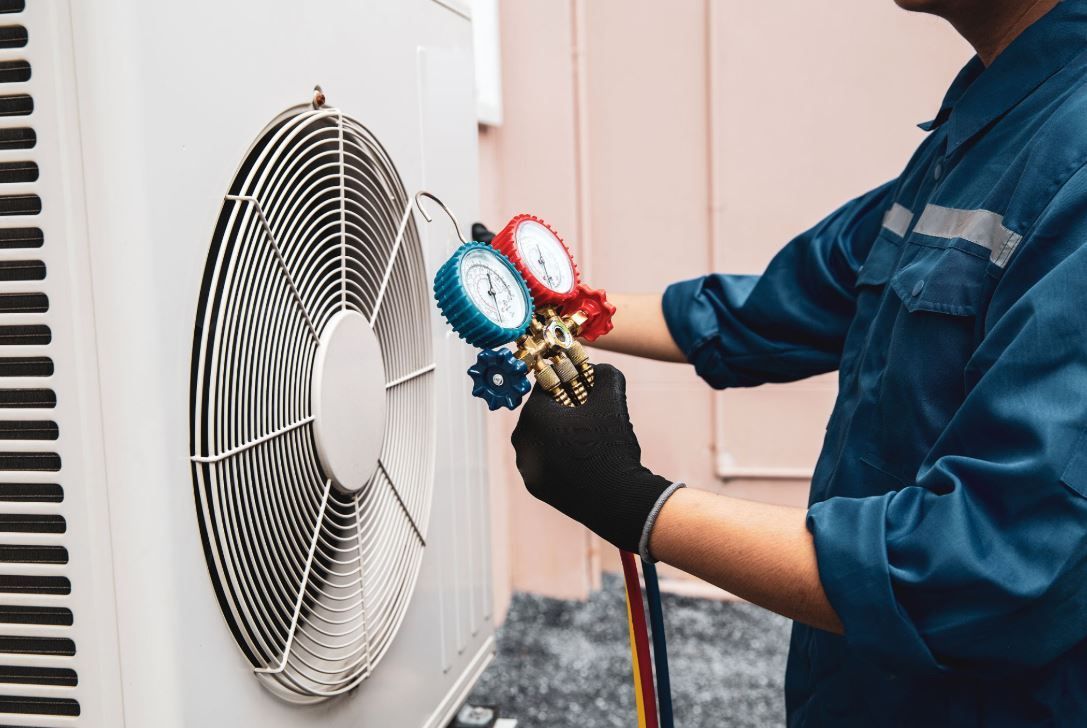
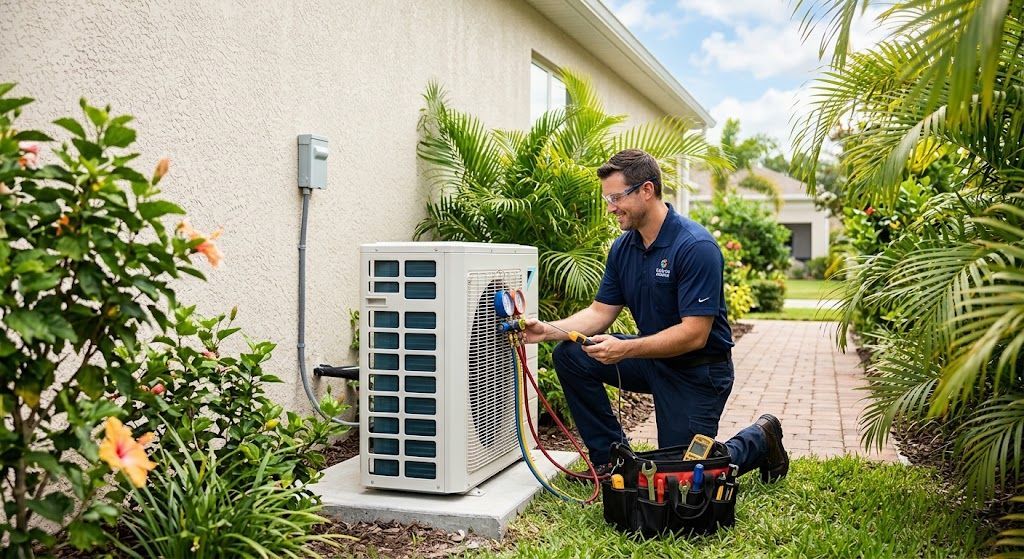
While proactive DIY care handles routine filter management and exterior cleaning, complete system care requires specialized diagnostic instruments. Professional technicians measure refrigerant charges, test compressor amp draws, evaluate heat exchanger integrity, check airflow static pressures, and verify safety controls.
Professional vs. DIY upkeep tasks
Understanding which tasks you can handle independently and which require certified tools protects both your safety and equipment warranties.
DIY Maintenance Tasks:
• Inspecting and changing air filters monthly
• Clearing debris around outdoor condenser units
• Flushing condensate drain lines with vinegar
• Cleaning supply and return air grilles
• Inspecting thermostat batteries and settings
Professional Technical Services:
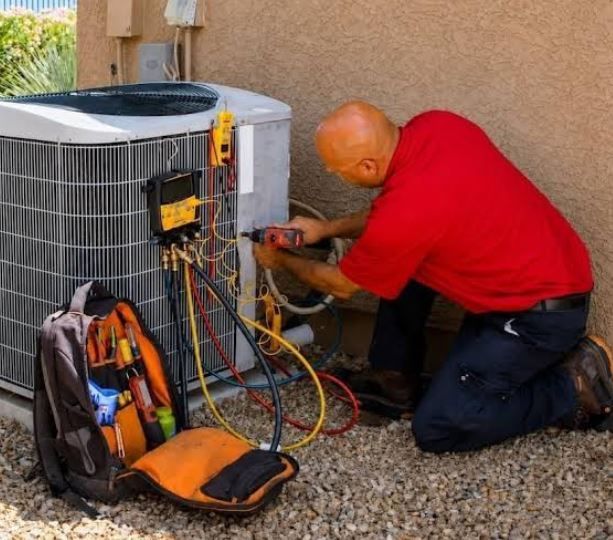
• Testing refrigerant pressures and detecting leaks
• Measuring electrical voltage, amperage, and capacitance
• Adjusting gas burner assemblies and heat exchangers
• Deep cleaning indoor evaporator coils and blower wheels
• Checking duct static pressure and air balance
Seasonal care checklist
Implementing a structured seasonal schedule ensures your equipment is prepared for temperature extremes.
Spring pre-cooling inspection
- Replace return air filters.
- Clean leaves and winter debris from the outdoor condenser cabinet.
- Flush the condensate drain line with vinegar.
- Test cooling operation before peak outdoor heat arrives.
- Schedule a professional cooling tune-up.
Fall pre-heating inspection
- Change air filters.
- Test heating mode operation and thermostat function.
- Inspect furnace flame ignition, gas connections, and exhaust venting.
- Vacuum supply and return air registers throughout living areas.
- Schedule a professional heating system safety inspection.
Critical warning signs that require expert attention
Even with diligent personal care, mechanical components eventually experience wear or failure. Contact a licensed technician immediately if you notice any of the following symptoms:
- Unusual noises: Grinding, squealing, banging, or persistent rattling sounds indicate loose belts, failing motor bearings, or damaged compressor components.
- Short-cycling: If the system repeatedly turns on and shuts off every few minutes without reaching desired temperatures, it may suffer from thermal overload, refrigerant issues, or oversized equipment.
- Spike in utility bills: Unexplained increases in electric or gas costs often signal failing components or severe efficiency losses.
- Warm air during cooling cycles: Cold air failing to flow from vents can indicate low refrigerant levels, a frozen coil, or a faulty compressor.
- Persistent odor issues: Musty smells usually suggest mold inside ductwork or on evaporator coils, while burning odors point to electrical shorts or overheating blowers.
Final considerations for long-term reliability
Taking proactive responsibility for your heating and air conditioning equipment delivers reliable comfort, healthier indoor air, and substantial energy savings year after year. By combining monthly DIY tasks—such as replacing filters and clearing outdoor debris—with professional inspections, you safeguard your property investment against unexpected breakdowns.
When complex technical issues arise or when it is time for comprehensive system tune-ups, relying on experienced certified professionals ensures your equipment receives proper diagnostic care. To keep your home operating efficiently in every season, trust certified experts to perform complete
HVAC maintenance tailored to your specific system requirements. Establishing a consistent care routine today guarantees reliable climate control, low operating costs, and long-term peace of mind.