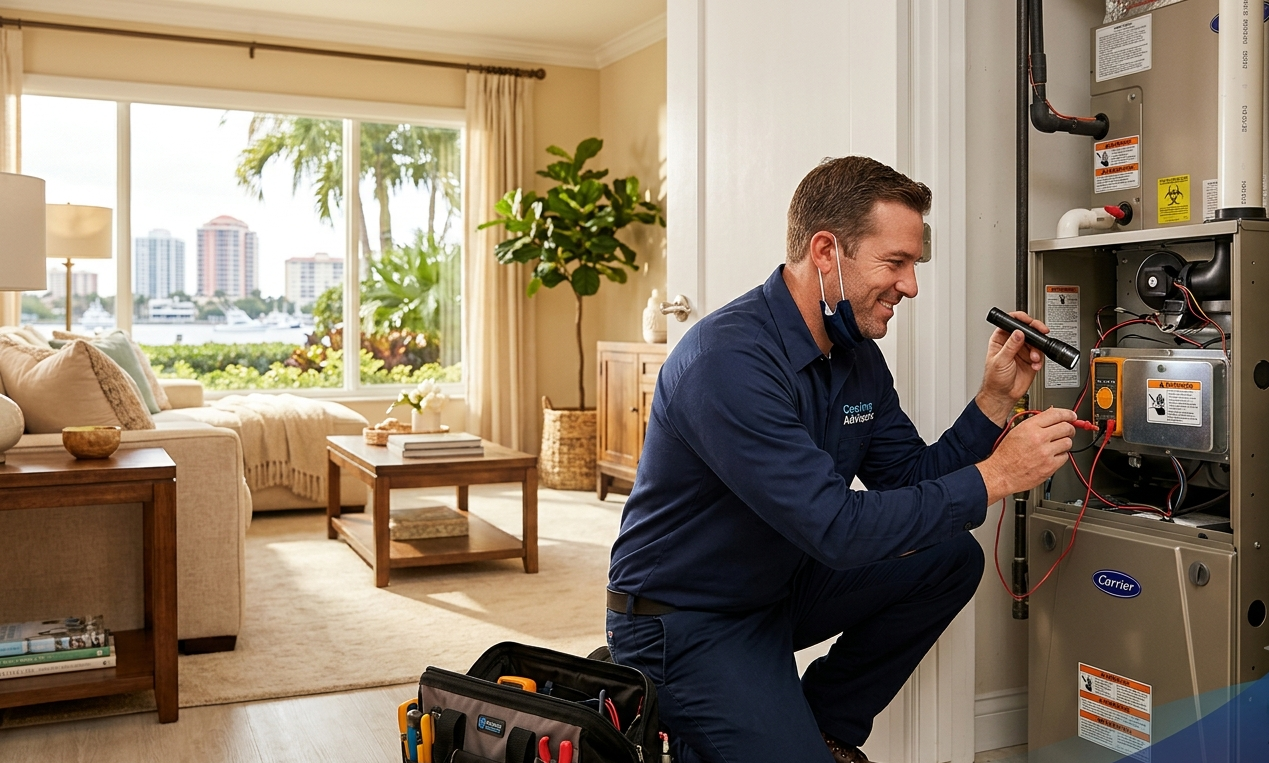
Every homeowner relies heavily on a properly functioning heating, ventilation, and air conditioning setup to keep interior spaces comfortable year-round. When temperatures spike during the peak of summer or plummet during the depths of winter, an unexpected mechanical failure can quickly turn your living space into an uncomfortable or unsafe environment. Understanding how your cooling system operates, identifying early warning signs, and knowing when to troubleshoot basic issues versus calling a licensed professional are critical steps every property owner should master.
Understanding Your Heating and Cooling Equipment
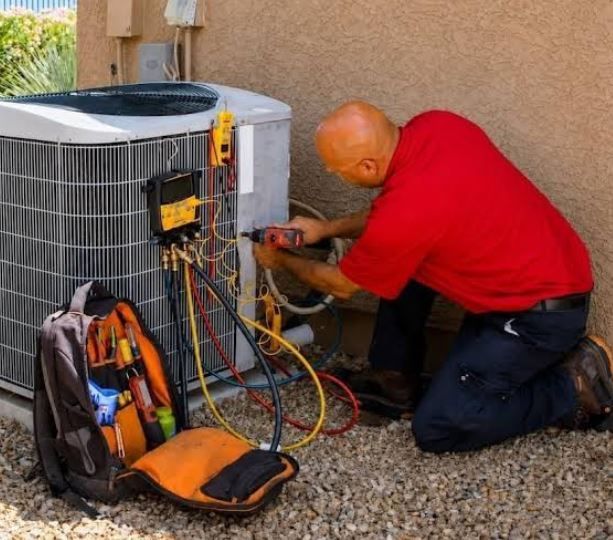
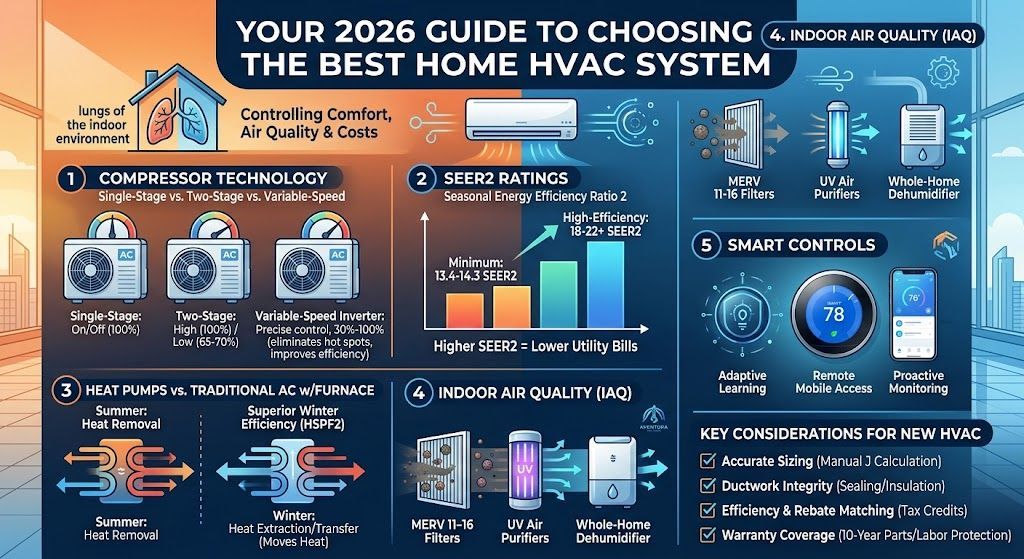
Your residential heating and cooling setup is a complex mechanical ecosystem designed to manage temperature, airflow, and indoor air quality. Most modern properties use split-system air conditioners or heat pumps that pair an indoor unit, such as a furnace or air handler, with an outdoor condenser unit. These components work continuously in tandem to draw warm air from indoors, transfer heat out of the building through refrigerant loops, and distribute conditioned, clean air back through your ductwork.
Because these units contain electrical wiring, delicate electronic control boards, high-pressure chemical refrigerants, and moving mechanical parts like fan motors and blower wheels, minor issues in one area can trigger widespread system failures. Recognizing early warning signs helps you catch problems before a minor glitch escalates into a catastrophic mechanical breakdown.
7 Essential Troubleshooting Steps for HVAC Repair
When your home cooling system fails to operate properly, taking a structured step-by-step approach can help you isolate simple home fixes from complex failures. Follow this practical guide to diagnose and resolve performance issues safely.
Step 1: Verify Thermostat Settings and Power Sources
Before assuming your compressor or furnace is broken, start with the control panel. Thermostat glitches account for a surprisingly high percentage of service calls.
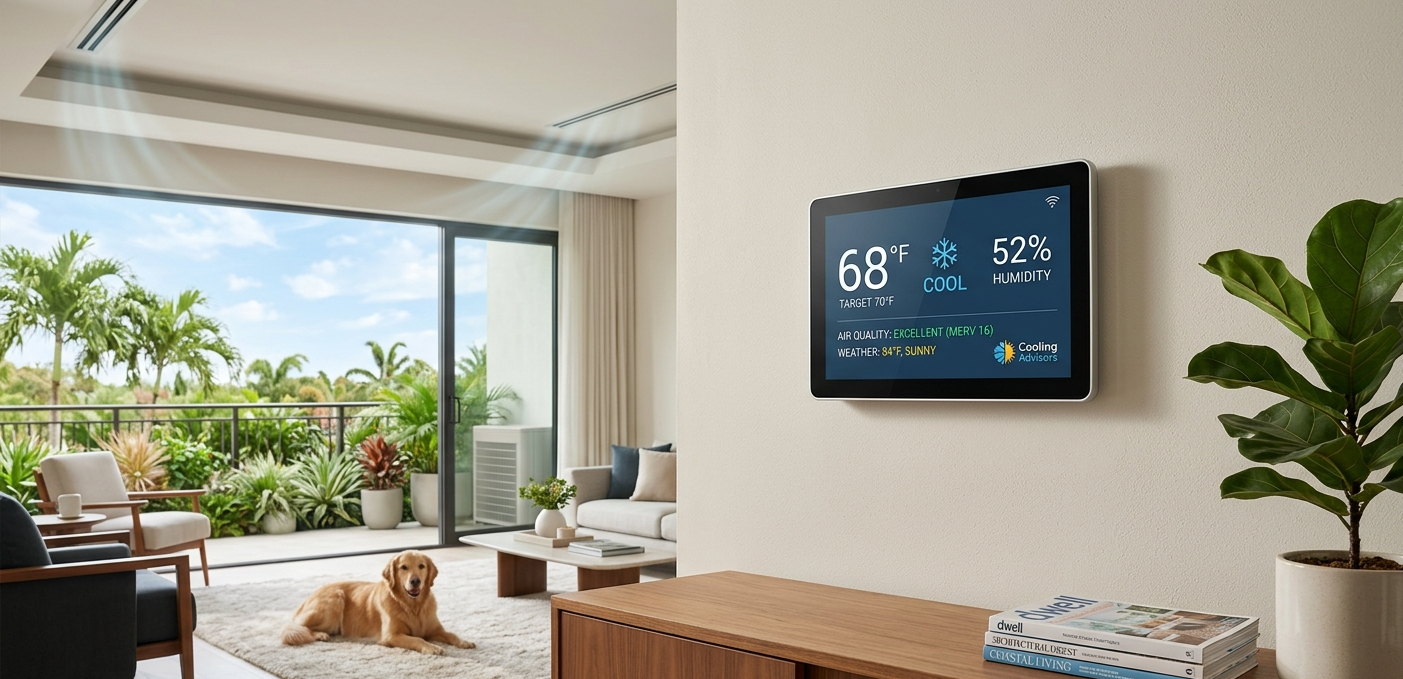
Check that your thermostat is set to the correct operating mode—either "Cool" or "Heat"—and that the target temperature is set at least five degrees below the current room reading. If the thermostat display screen is blank, replace its batteries immediately.
Next, inspect your main electrical panel. A sudden power surge or heavy electrical startup load can trip a circuit breaker. Flip any tripped breakers firmly to the "Off" position before resetting them back to "On."
Step 2: Inspect and Replace Dirty Air Filters
Airflow restriction is one of the leading causes of system inefficiency and component failure. A heavily clogged air filter restricts the volume of air entering your return air ducts, forcing your system to work significantly harder to move air throughout the home.
Over time, restricted airflow causes the evaporator coil to freeze into a solid block of ice, which completely halts cooling performance and risks severe damage to your compressor.
Inspect your filter monthly and replace it every 30 to 90 days depending on local dust levels and whether you have household pets. High-efficiency MERV-rated filters catch dust, pollen, and pet dander, protecting both your health and internal components.
Step 3: Clear the Outdoor Condenser Unit
Your outdoor condenser coil releases heat extracted from inside your home out into the ambient air. If the metal fins surrounding the outdoor cabinet become choked with leaves, dirt, grass clippings, or debris, the unit cannot shed heat effectively.
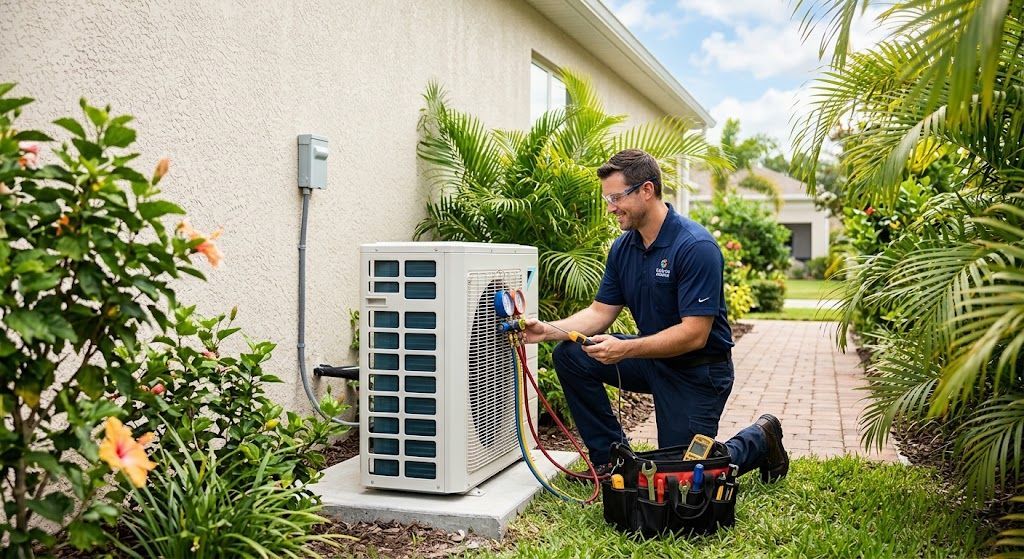
Turn off electrical power to the outdoor unit at the local disconnect switch or breaker panel before performing any exterior cleaning. Clear away all vegetation, weeds, and stored objects to maintain a minimum of two feet of open clearance around the entire perimeter of the unit.
Use a soft brush to gently remove loose dirt from the delicate metal fins, and wash down the cabinet with a low-pressure garden hose spraying from the inside outward. Never use high-pressure power washers, which easily bend and destroy delicate aluminum cooling fins.
Step 4: Inspect Return Vents and Supply Registers
Proper system performance depends on balanced air circulation. Walk through every room in your home to verify that supply air vents and large return air grilles are completely open and unblocked by furniture, thick rugs, or heavy drapes.
Closing off registers in unused rooms is a common practice among homeowners, but it creates uneven static pressure within your ductwork. High static pressure strains the blower motor, reduces system efficiency, and can cause premature equipment failure. Keep all interior supply vents open to ensure balanced airflow throughout the system.
Step 5: Check condensate Drain Lines and Drain Pans
As your cooling system extracts heat from your indoor air, it also removes moisture through condensation. This water accumulates in a drain pan beneath the indoor evaporator coil and flows out of the building through a PVC condensate line.
Over time, algae, mold, and dust build up inside this drain line, creating stubborn clogs. When the line blocks, water backs up into the drain pan. Most modern systems feature a safety float switch that automatically shuts down the system when standing water is detected, preventing costly indoor ceiling and floor water damage.
Locate your drain line access point, typically near the indoor air handler, and clear small blockages using a wet/dry shop vacuum attached to the exterior drain exit. Pouring a cup of plain warm water or white vinegar down the drain line access port every few months helps prevent biological growth from forming.
Step 6: Monitor System Noises and Unusual Odors
Odd noises and unpleasant smells often signal specific mechanical or electrical issues that require prompt attention. Pay close attention to what your unit sounds like when starting up and running.
High-pitched squealing usually points to a worn fan belt or failing motor bearings. Rattling or banging noises can indicate loose mounting hardware, a failing fan blade, or severe internal compressor wear. A buzzing or humming sound often signals a faulty electrical contactor or a dying capacitor that cannot deliver the electrical boost required to start motors.
Odors also provide clear diagnostic clues. A strong burning electrical smell indicates overheating wiring insulation or a seized motor. Musty smells usually signal standing water or microbial growth inside dirty ductwork or on wet evaporator coils.
Step 7: Assess Refrigerant Line Insulation and Coil Health
Inspect the copper refrigerant lines running from your outdoor condenser to your indoor air handler. The larger copper suction line should be wrapped in thick, undamaged foam insulation to maintain energy efficiency and prevent moisture condensation from dripping onto walls and ceilings.
If you notice thick frost or ice building up along the exposed copper lines or on the indoor evaporator coil cabinet, turn your cooling system off immediately at the thermostat. Running an iced-up unit can destroy the compressor, which is the most expensive single component in your system. Allow the ice to thaw completely with the system fan turned on before attempting further checks.
Common Signs You Need Professional Repairs
While routine checks like changing filters and clearing outdoor debris are easy for homeowners to handle, many mechanical problems require specialized diagnostic tools, electrical meters, and certified technical expertise. Ignoring warning signs can quickly lead to complete system breakdowns during extreme weather.
Contact a certified technician promptly if you notice any of the following critical red flags:
- The system blows warm air despite low thermostat settings and clean air filters.
- You notice persistent short-cycling, where the equipment repeatedly turns on and off every few minutes.
- Odd metallic grinding, loud banging, or electrical buzzing sounds come from the compressor cabinet.
- Unexplained spikes appear on your monthly electric utility bills without changes in usage habits.
- Pools of water collect around the base of your indoor furnace or air handler unit.
- The system trips your main electrical breaker repeatedly whenever the compressor tries to start up.
Attempting to handle high-voltage electrical circuits or chemical refrigerant loops without proper EPA certification and safety equipment is dangerous and can void your original manufacturer warranty.
How Routine Maintenance Prevents Unplanned Failures
The most cost-effective way to handle system failure is to prevent it entirely through regular preventive maintenance. Having an experienced technician inspect, clean, and calibrate your heating and cooling equipment twice a year—once in spring before cooling season and once in fall before heating season—dramatically lowers the likelihood of emergency breakdowns.
During a professional maintenance visit, a trained technician performs dozens of essential tasks, including:
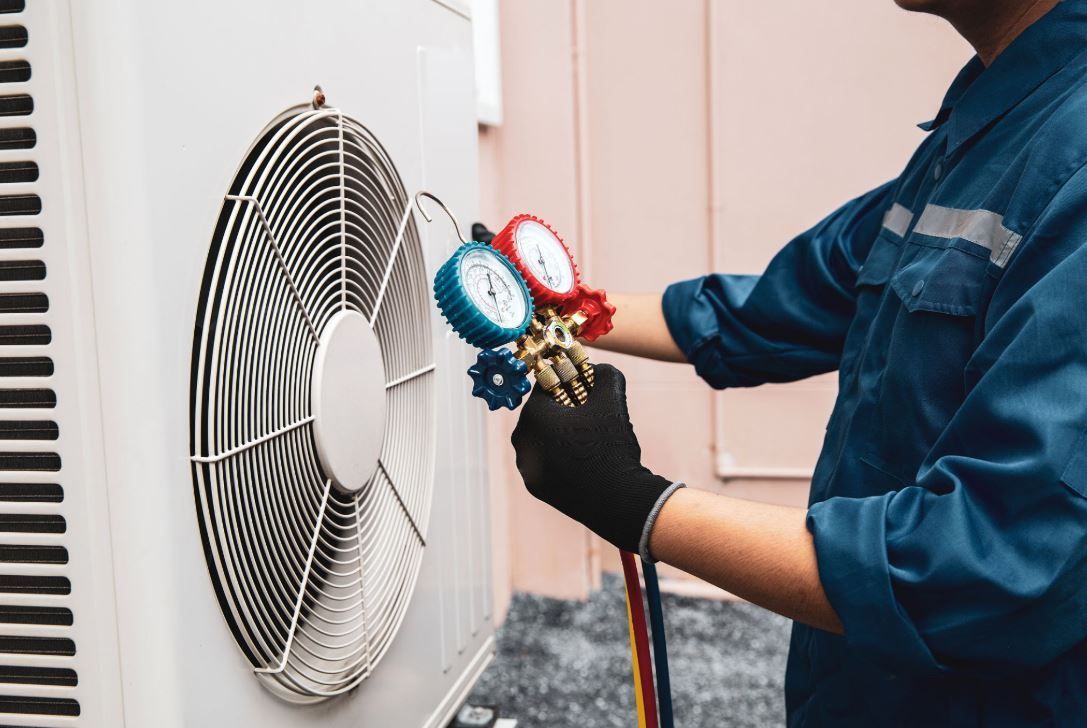
- Checking chemical refrigerant charge levels to detect minute leaks.
- Testing electrical capacitors, relays, contactors, and control wiring connections for safe voltage levels.
- Cleaning dirty evaporator coils and outdoor condenser coils with specialized chemical cleaners.
- Lubricating motor bearings and checking fan motor amperage draws.
- Calibrating thermostats and verifying safety control switch operation.
- Inspecting heat exchangers for invisible cracks that could leak dangerous carbon monoxide.
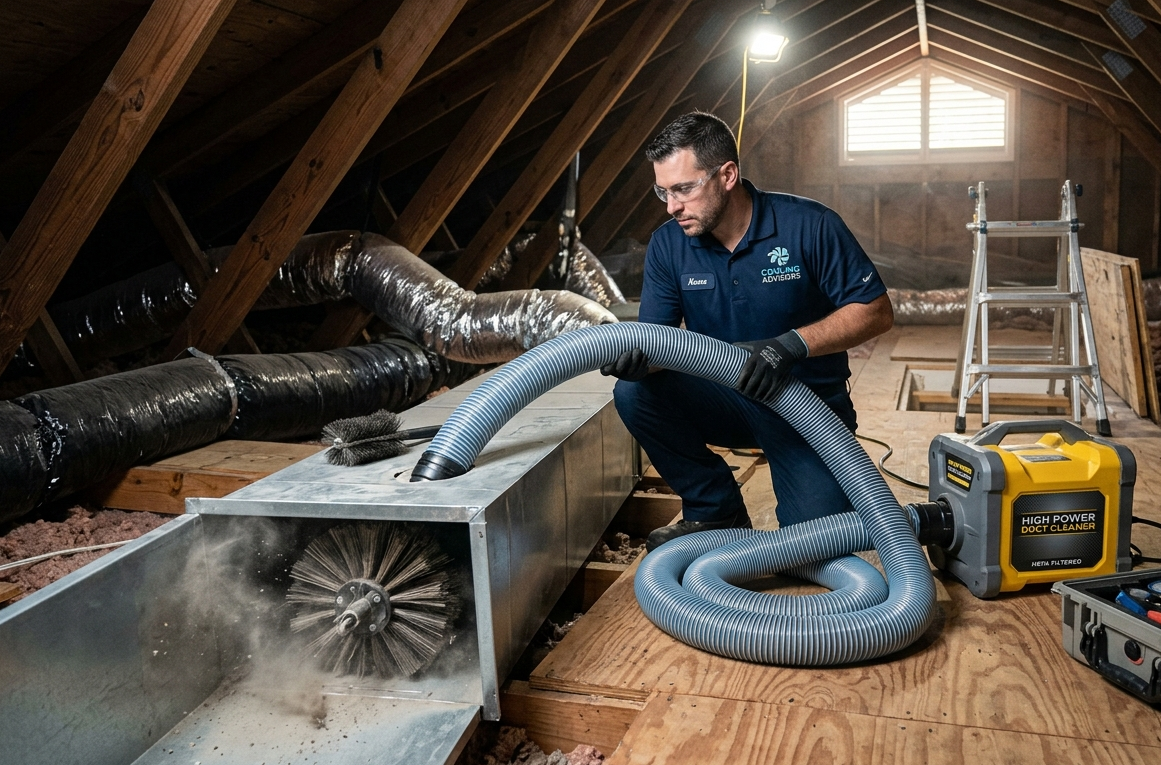
- Measuring system airflow and inspecting accessible ductwork for leaks and insulation gaps.
Regular professional care prolongs equipment operating life, lowers monthly energy bills by maintaining peak efficiency, improves indoor air quality, and ensures reliable performance when you need it most.
Choosing the Right Service Provider
When your climate control equipment breaks down or requires routine servicing, selecting a dependable local company is essential for long-term peace of mind. Look for service providers with extensive industry experience, positive customer reviews, clear upfront pricing, and fully licensed and insured technicians.
For dependable residential cooling solutions, fast diagnostic evaluations, and long-lasting equipment servicing, trusting a certified technician for your professional
HVAC repair guarantees your home stays safe, comfortable, and energy-efficient in every season. Reliable experts bring the advanced diagnostic tools and specialized skills needed to fix complex issues right the first time.
Long-Term Care for Maximum Efficiency
Your residential heating and cooling setup represents a significant financial investment in your property's value and family comfort. By following regular troubleshooting procedures, changing air filters on schedule, keeping outdoor units clean, and scheduling biannual professional checkups, you protect your system against premature failure and excessive operational costs.
Paying close attention to subtle shifts in system sounds, airflow, and indoor humidity levels empowers you to act quickly when minor issues arise. Proactive care ensures continuous, efficient indoor comfort year after year, giving you total peace of mind regardless of the weather outside.